
Absolute Design Build completed this Natick exterior restoration over multiple years. The work brought together exterior painting and carpentry, addressing deteriorated wood and restoring exterior details across successive phases. The project photographs document what went into that work: damaged trim, siding opened to expose concealed deterioration, repairs around windows and roof intersections, and finished painted surfaces.
Original Condition
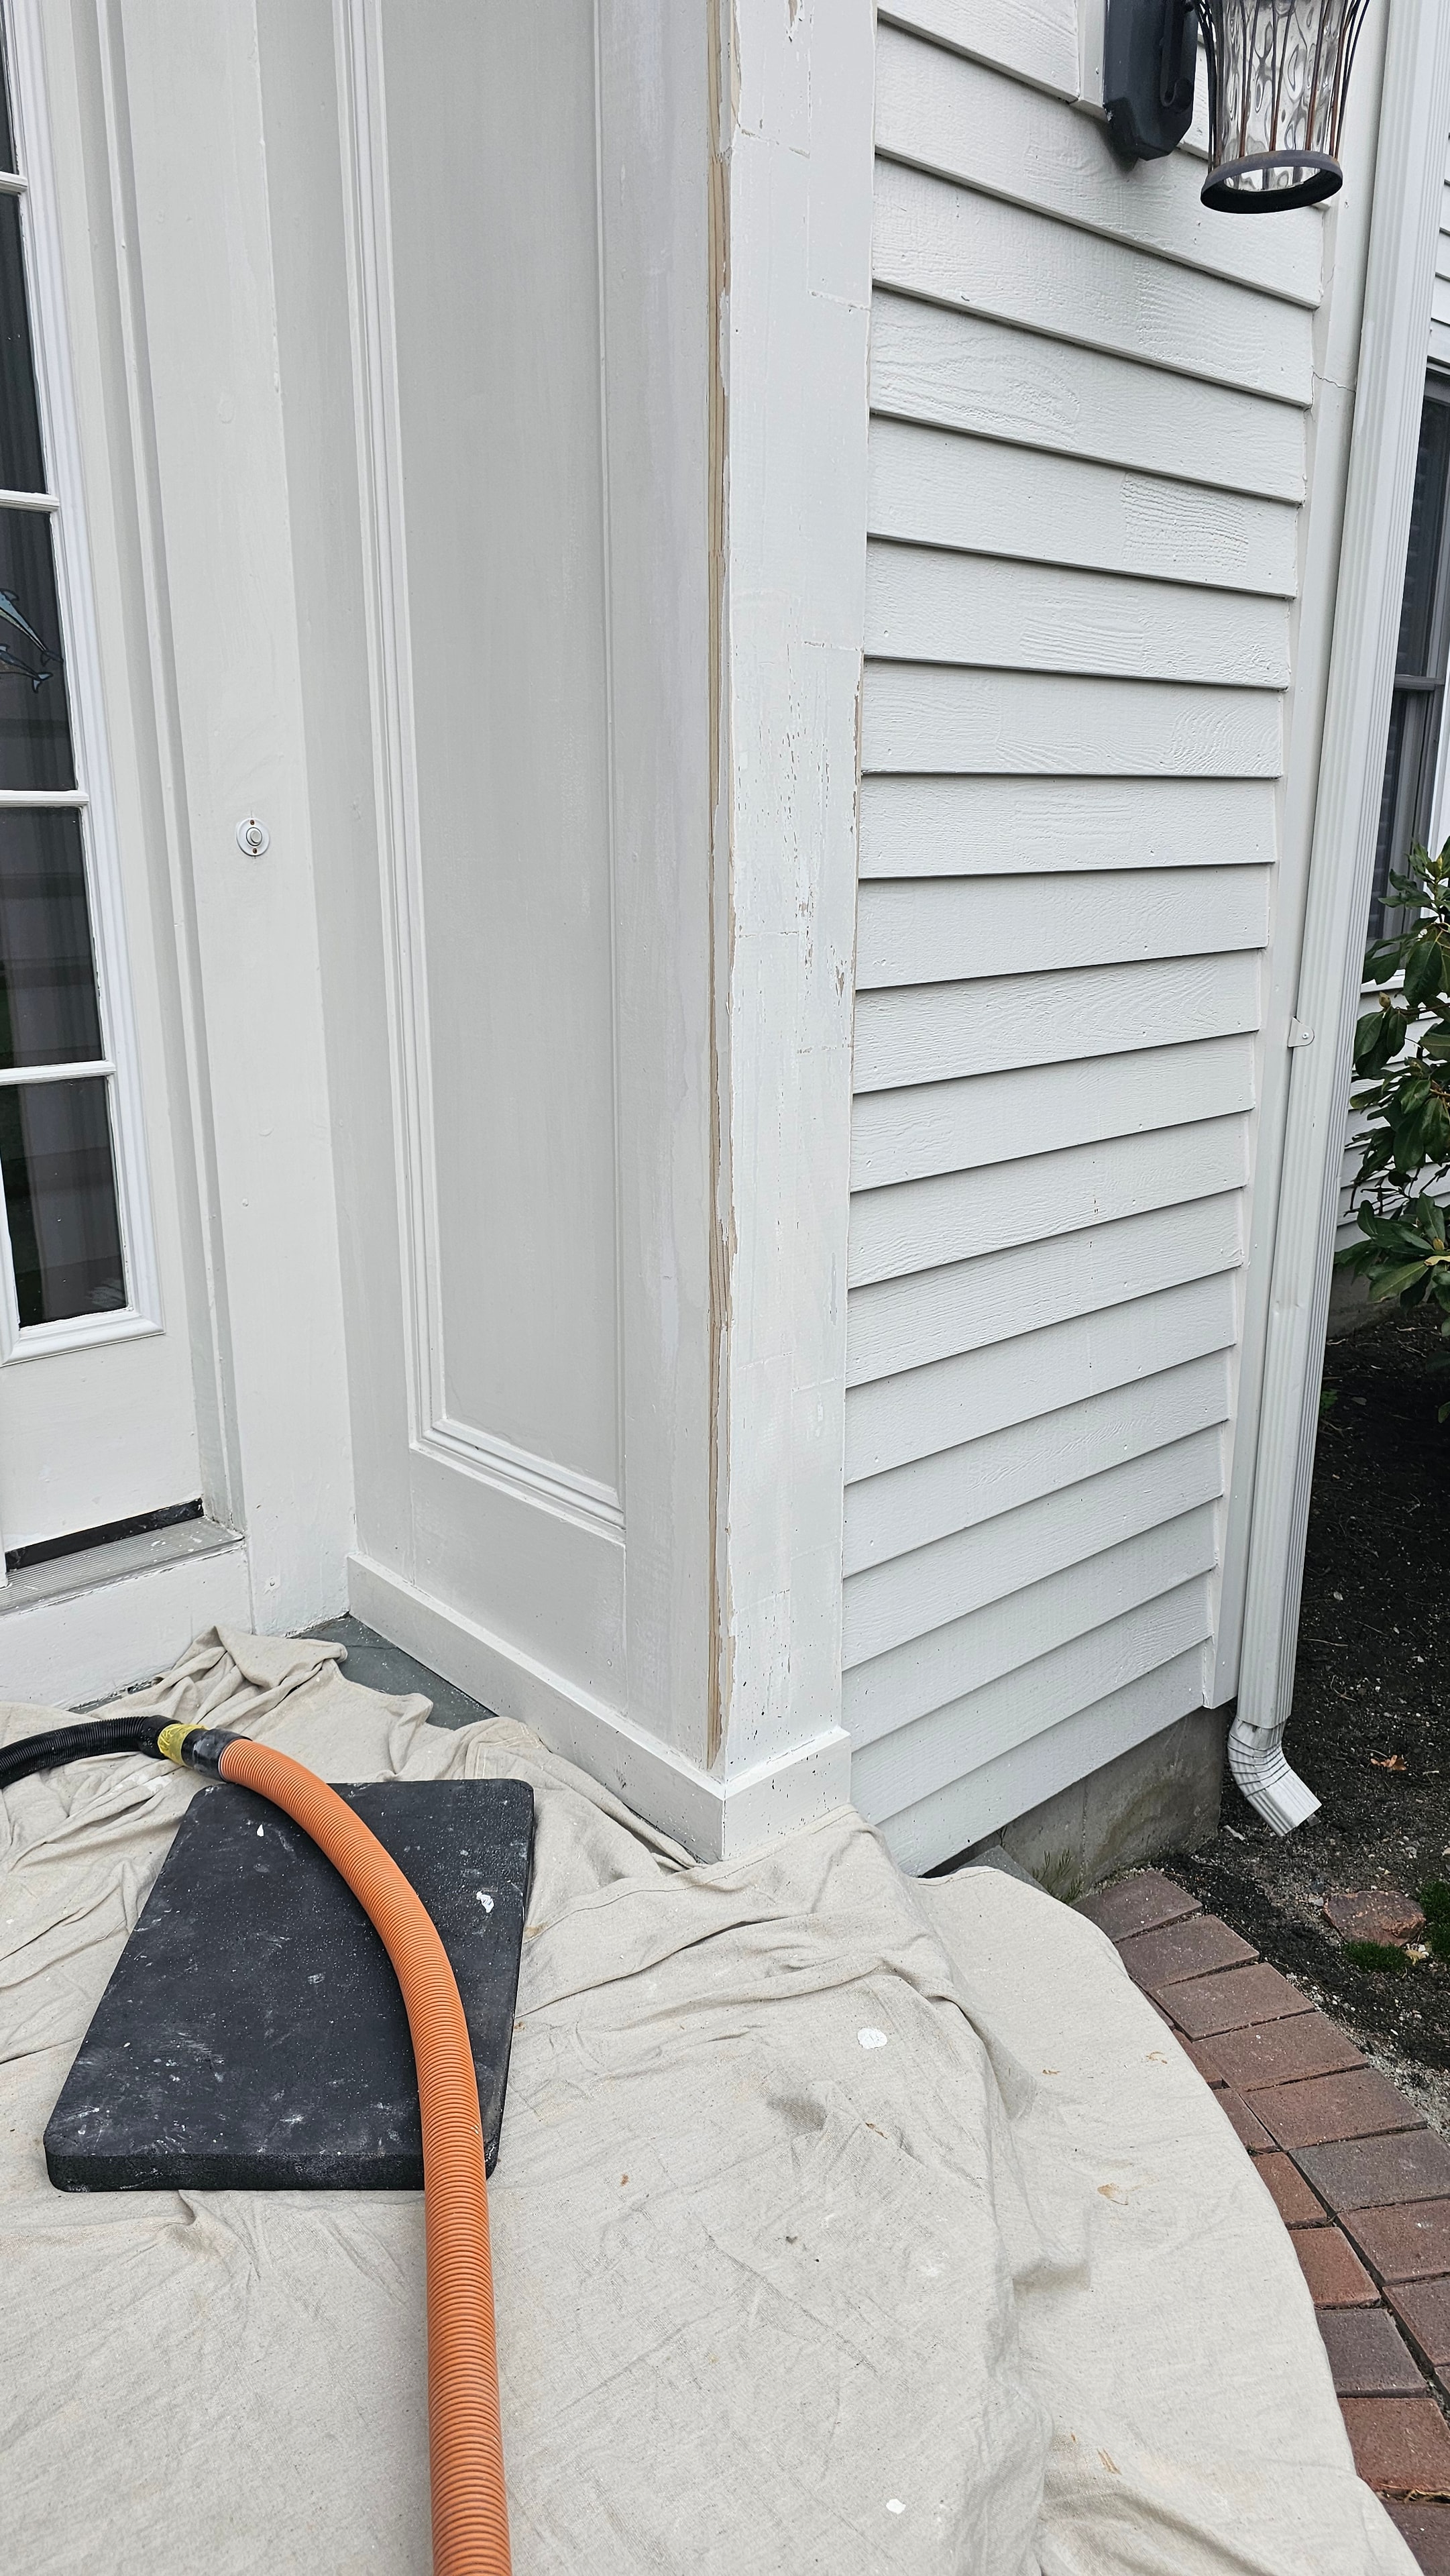
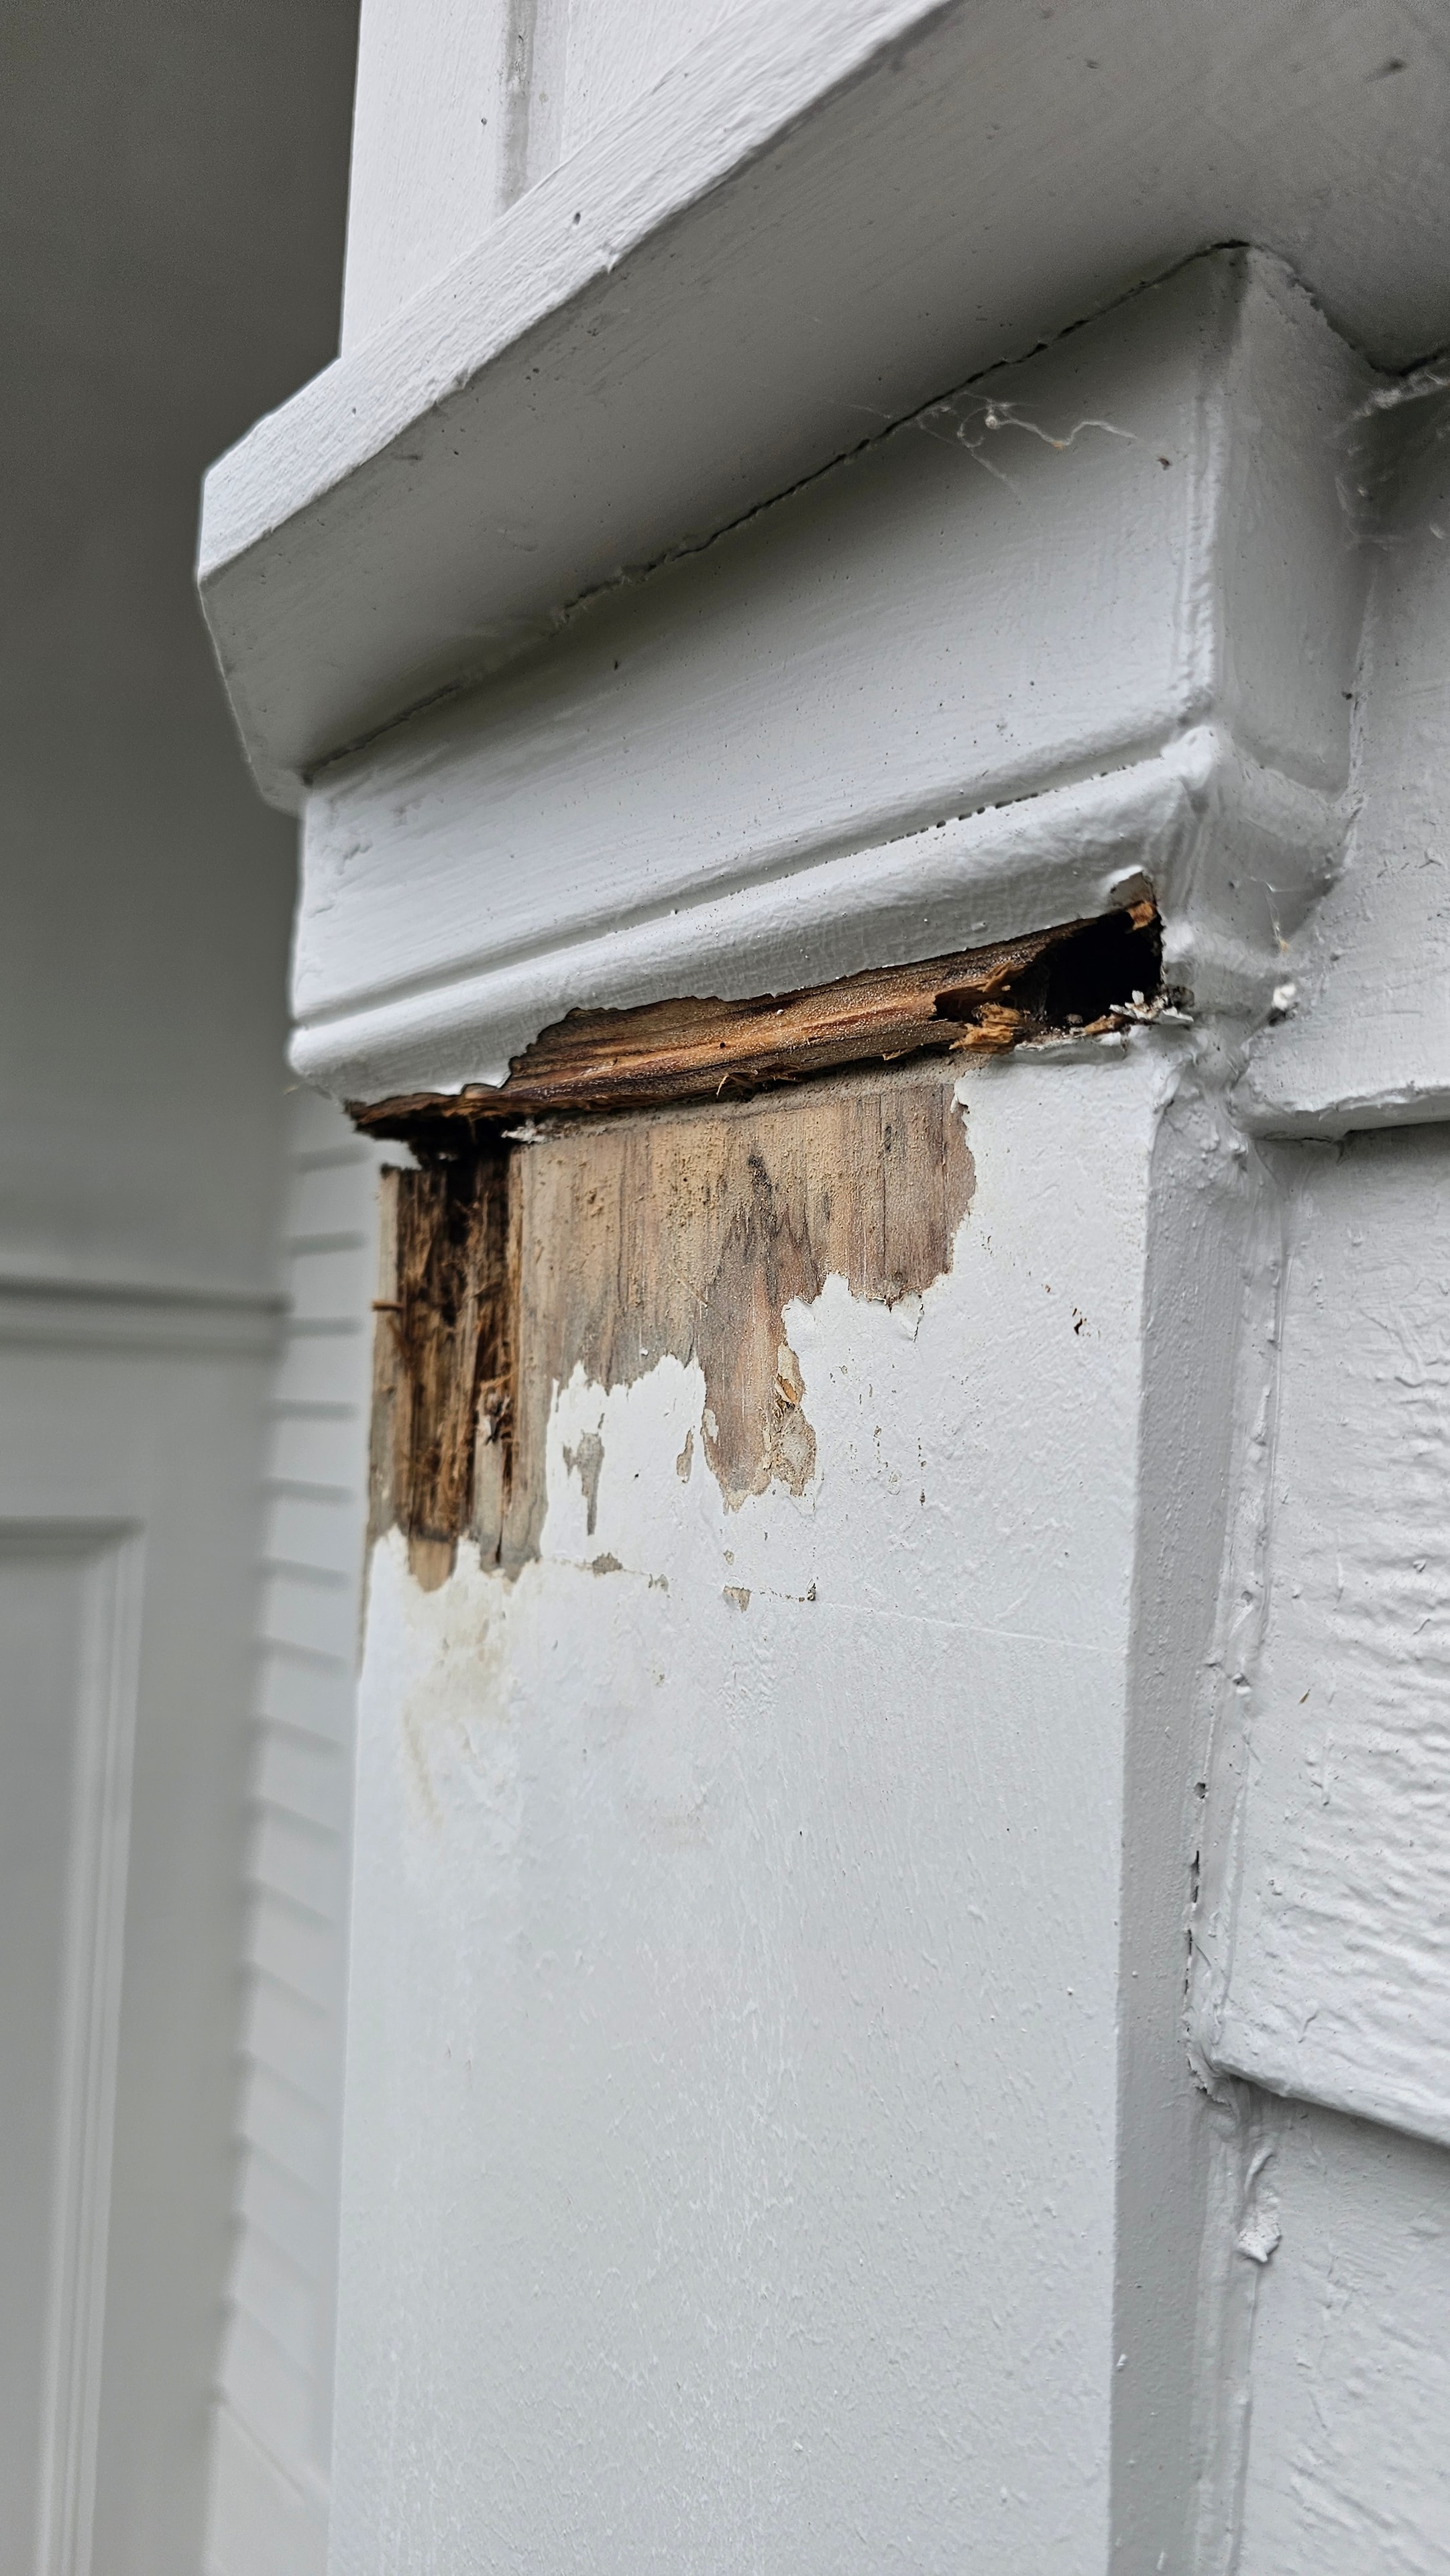
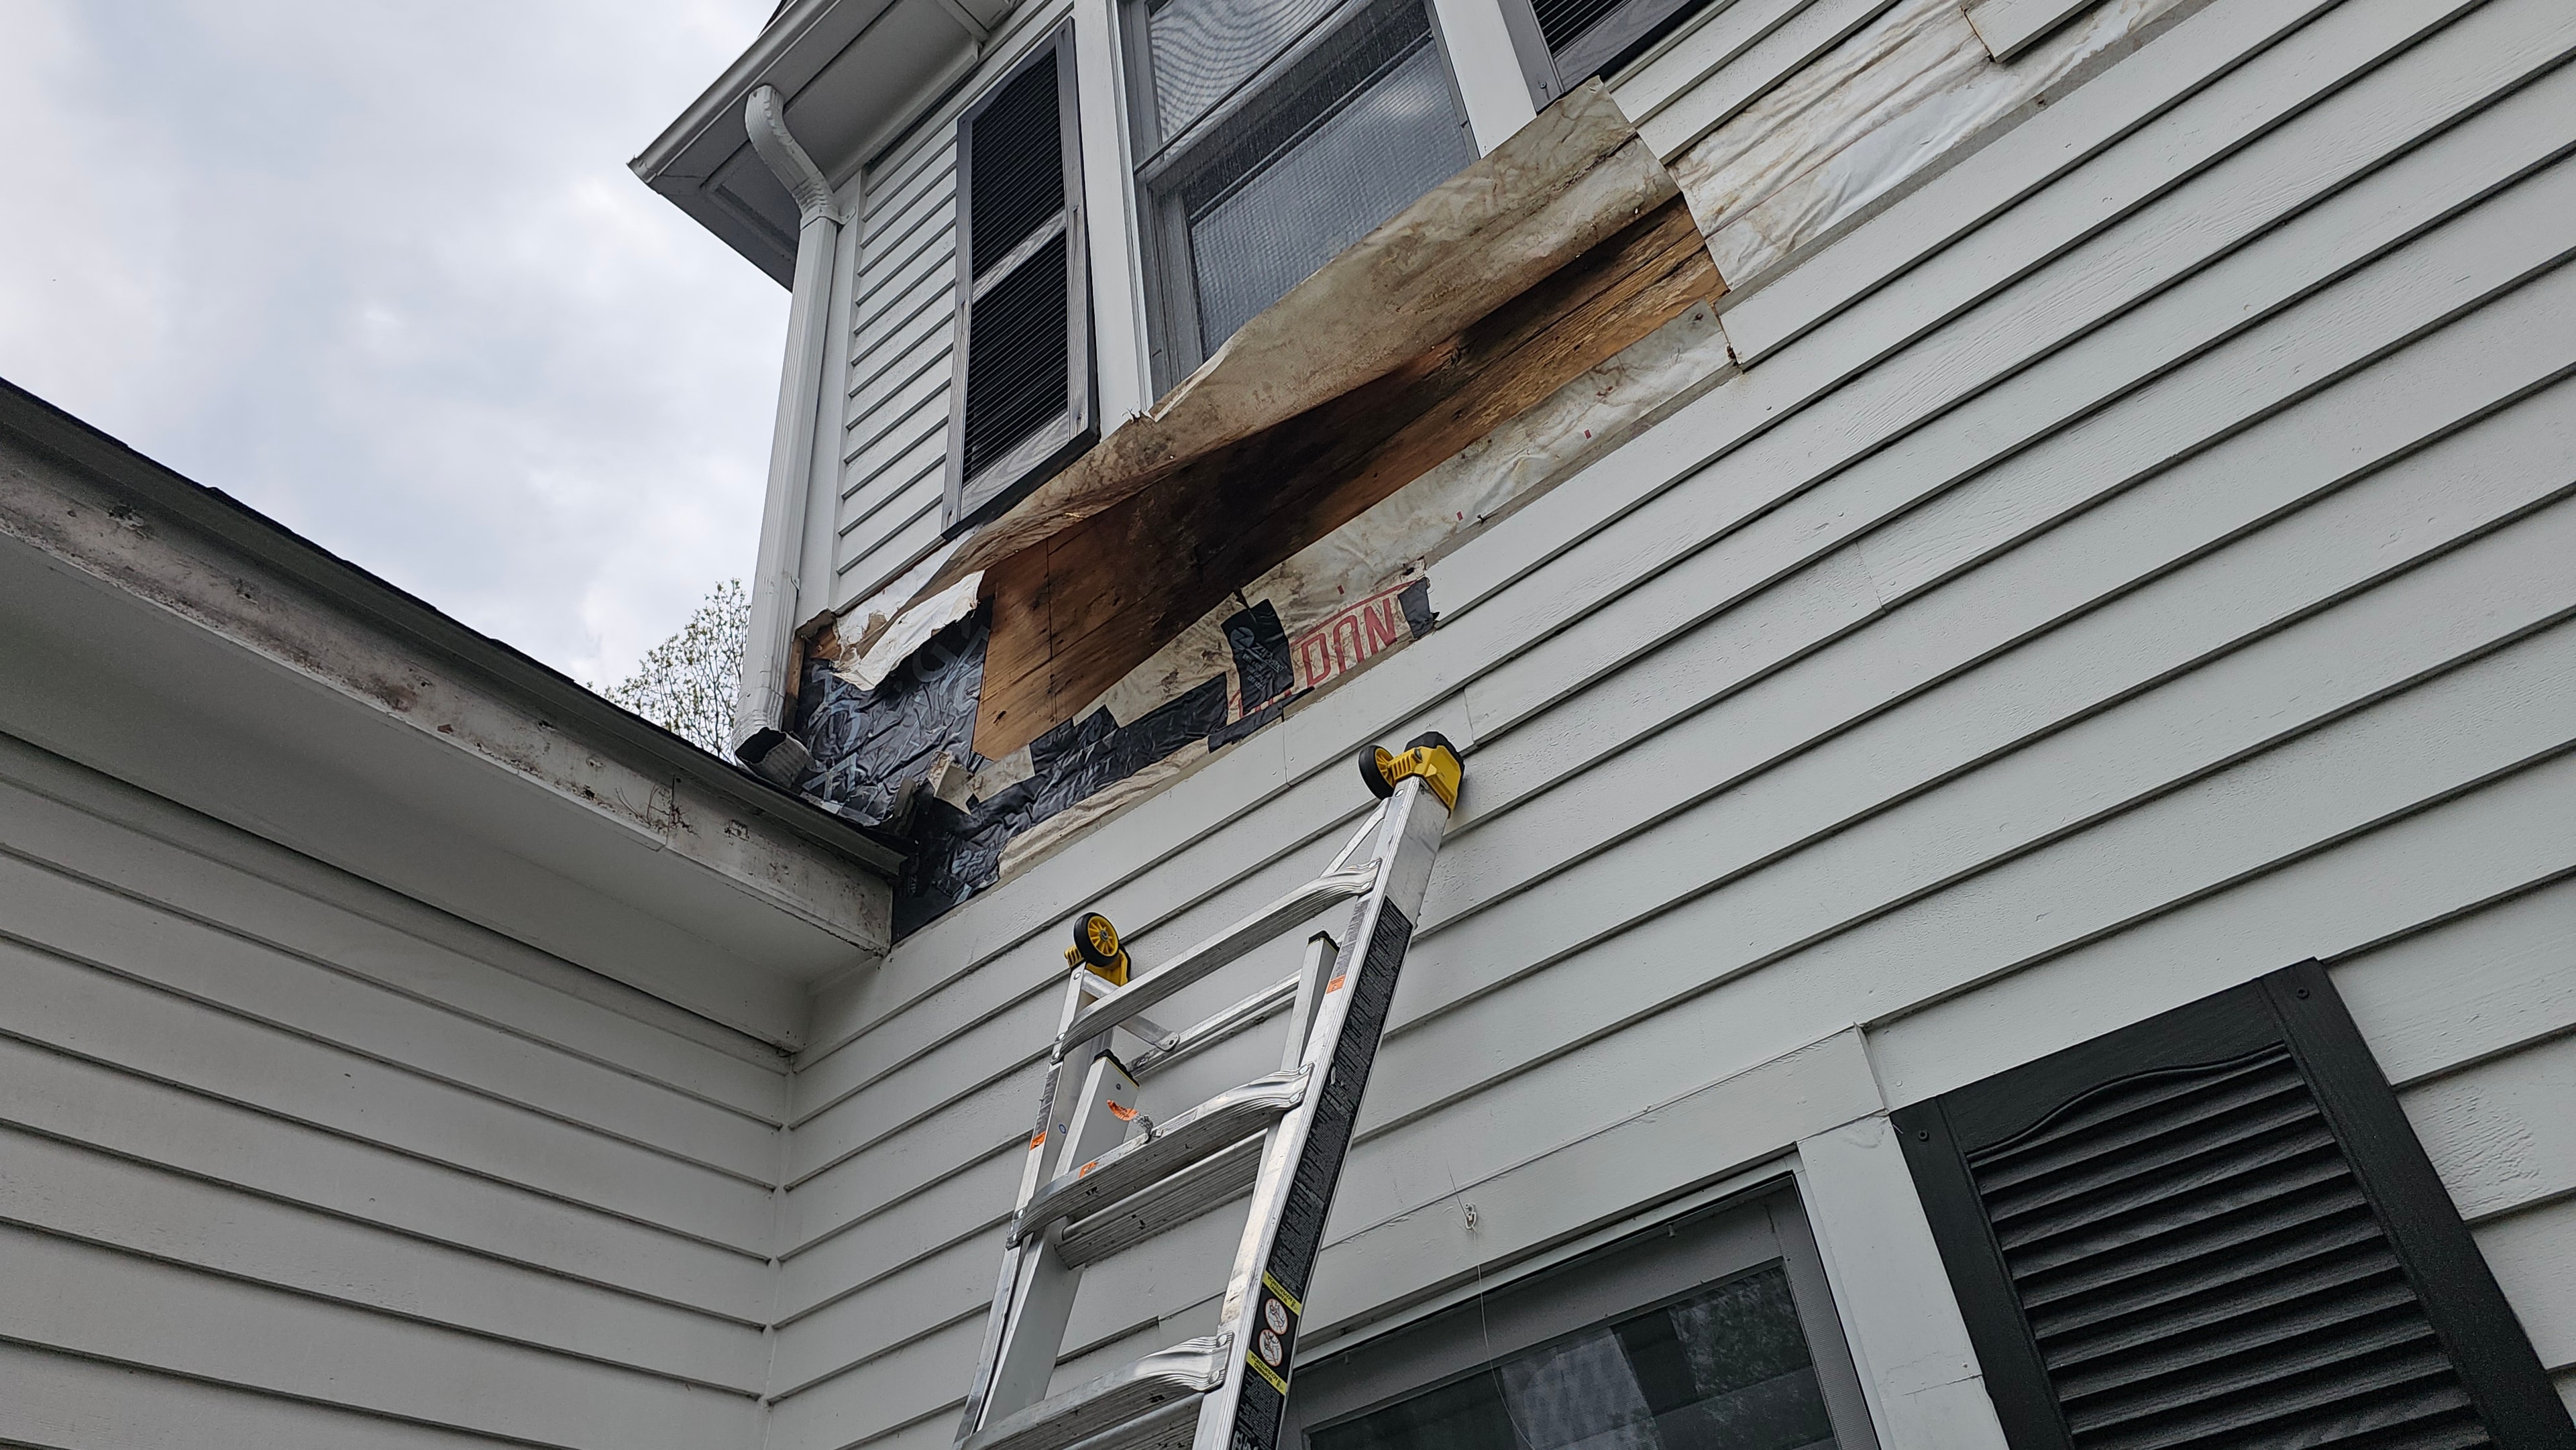
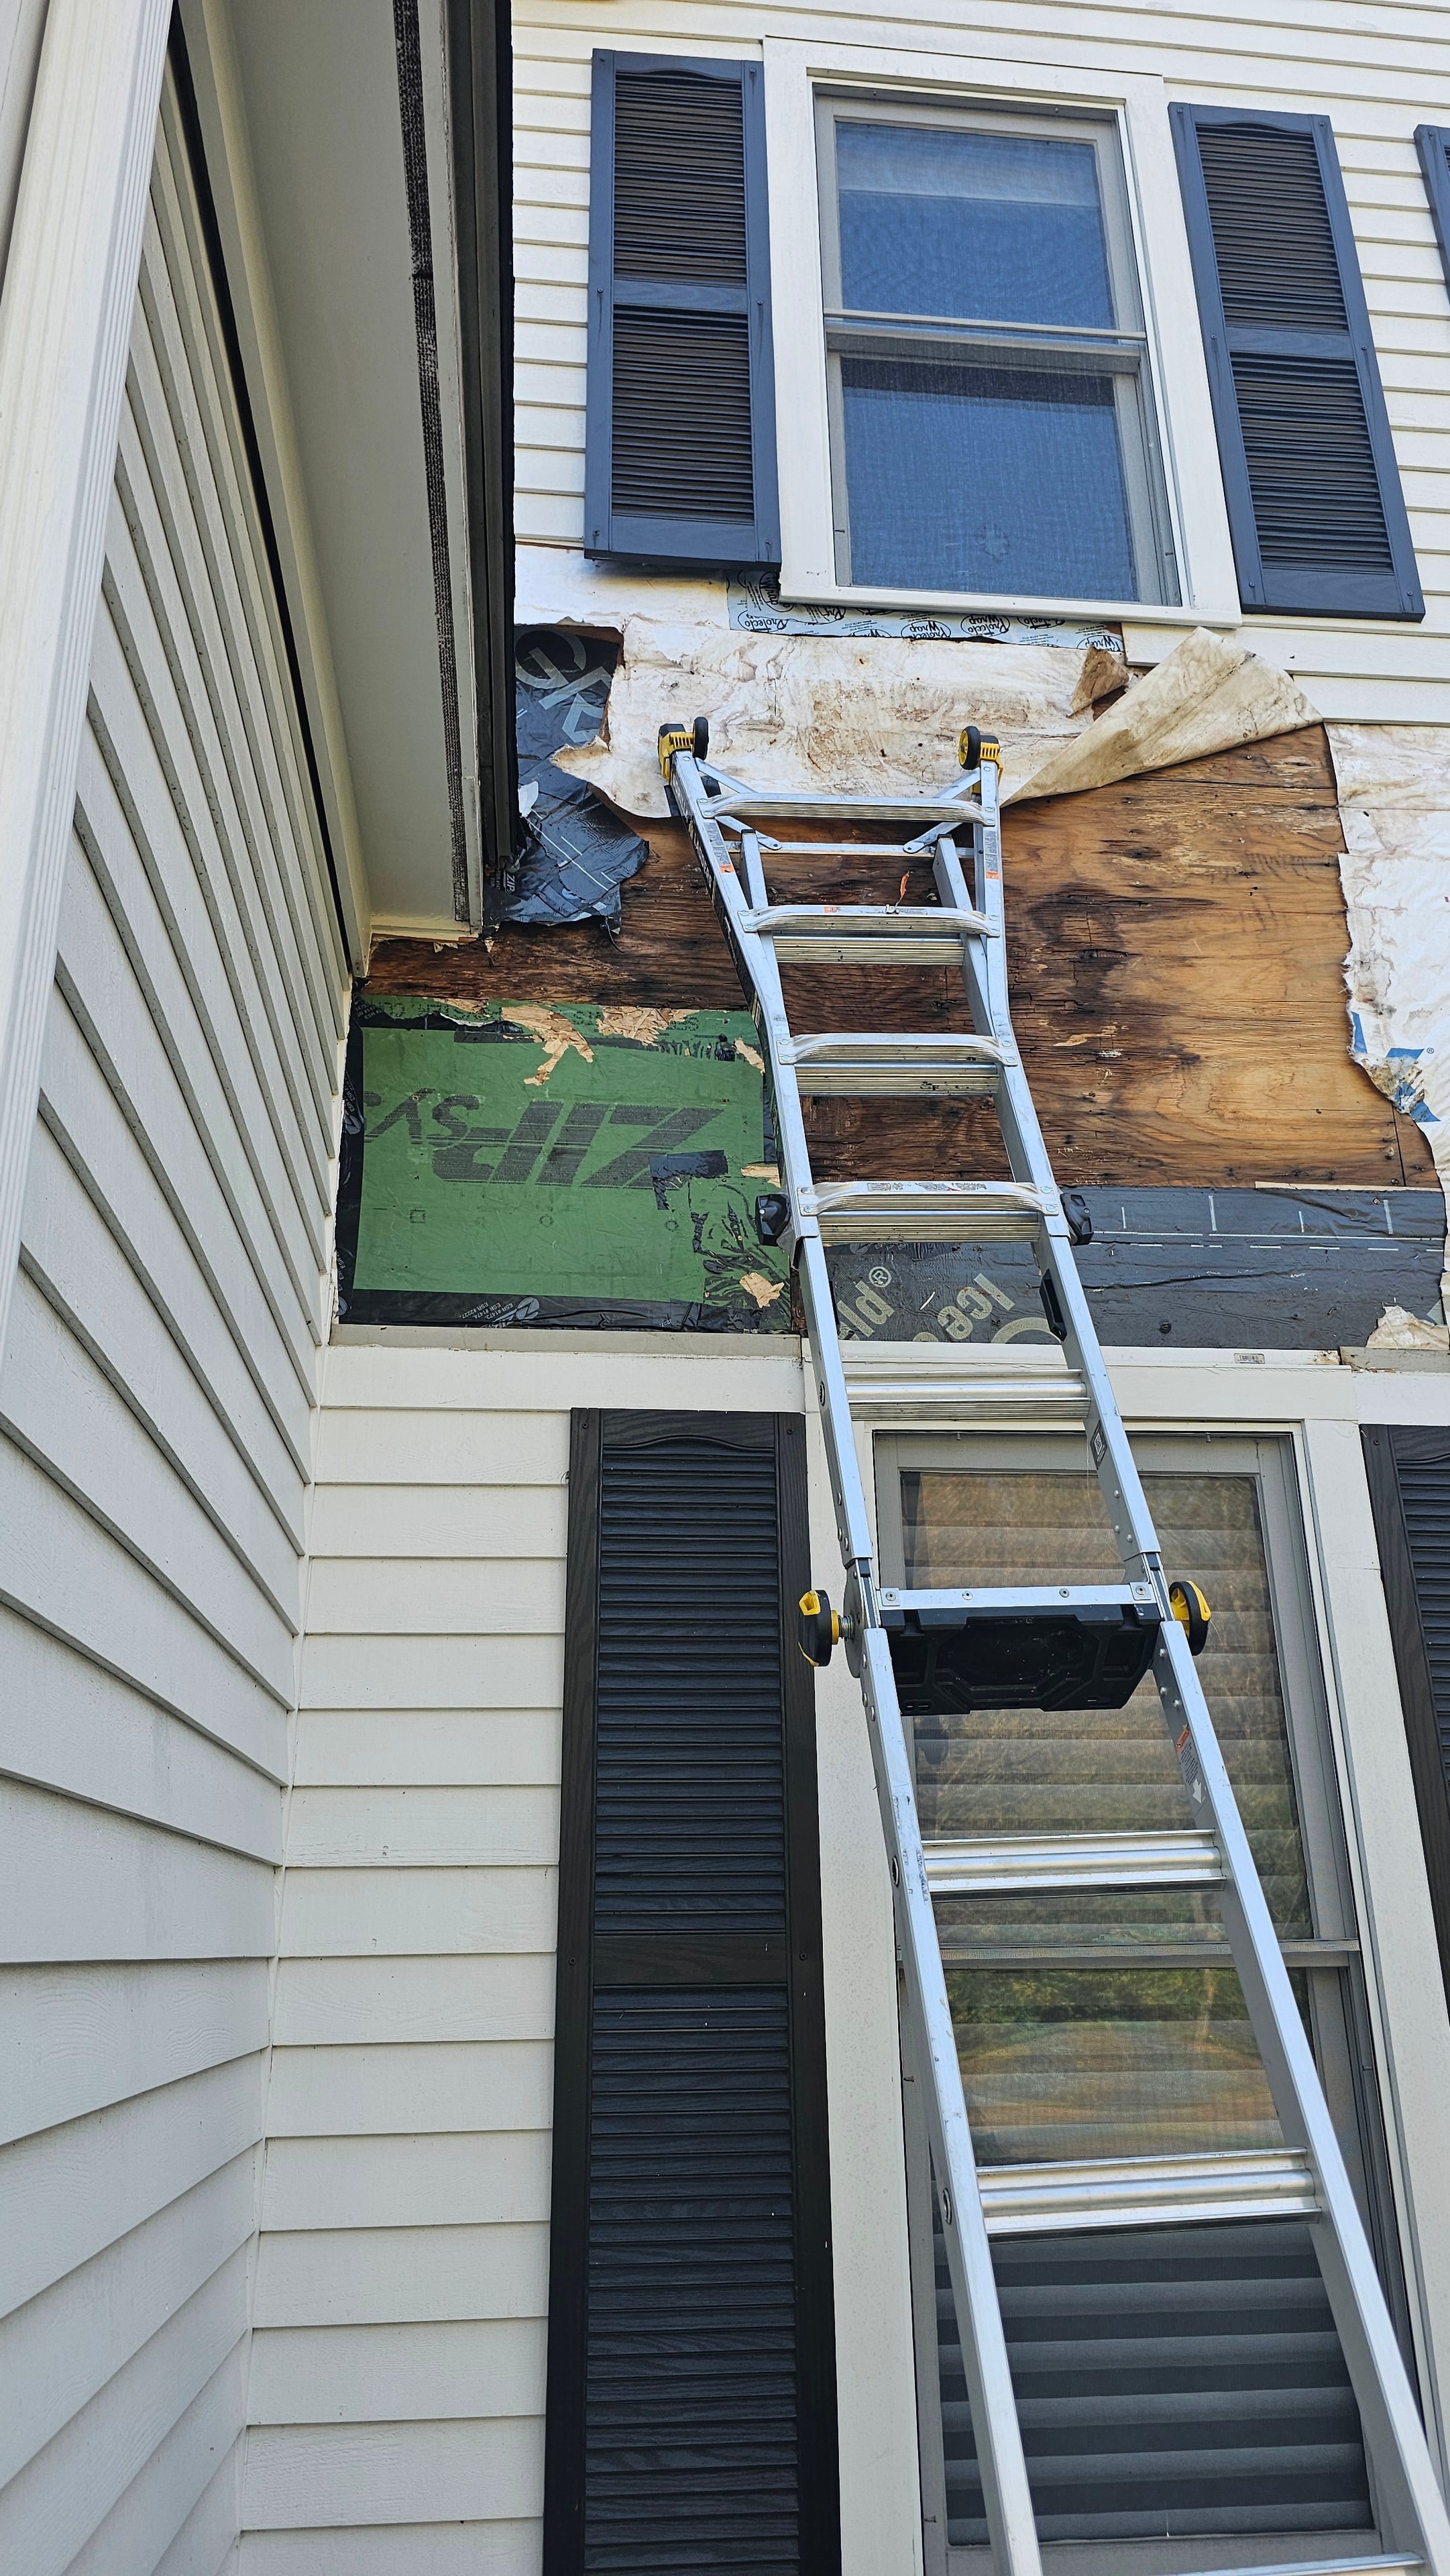
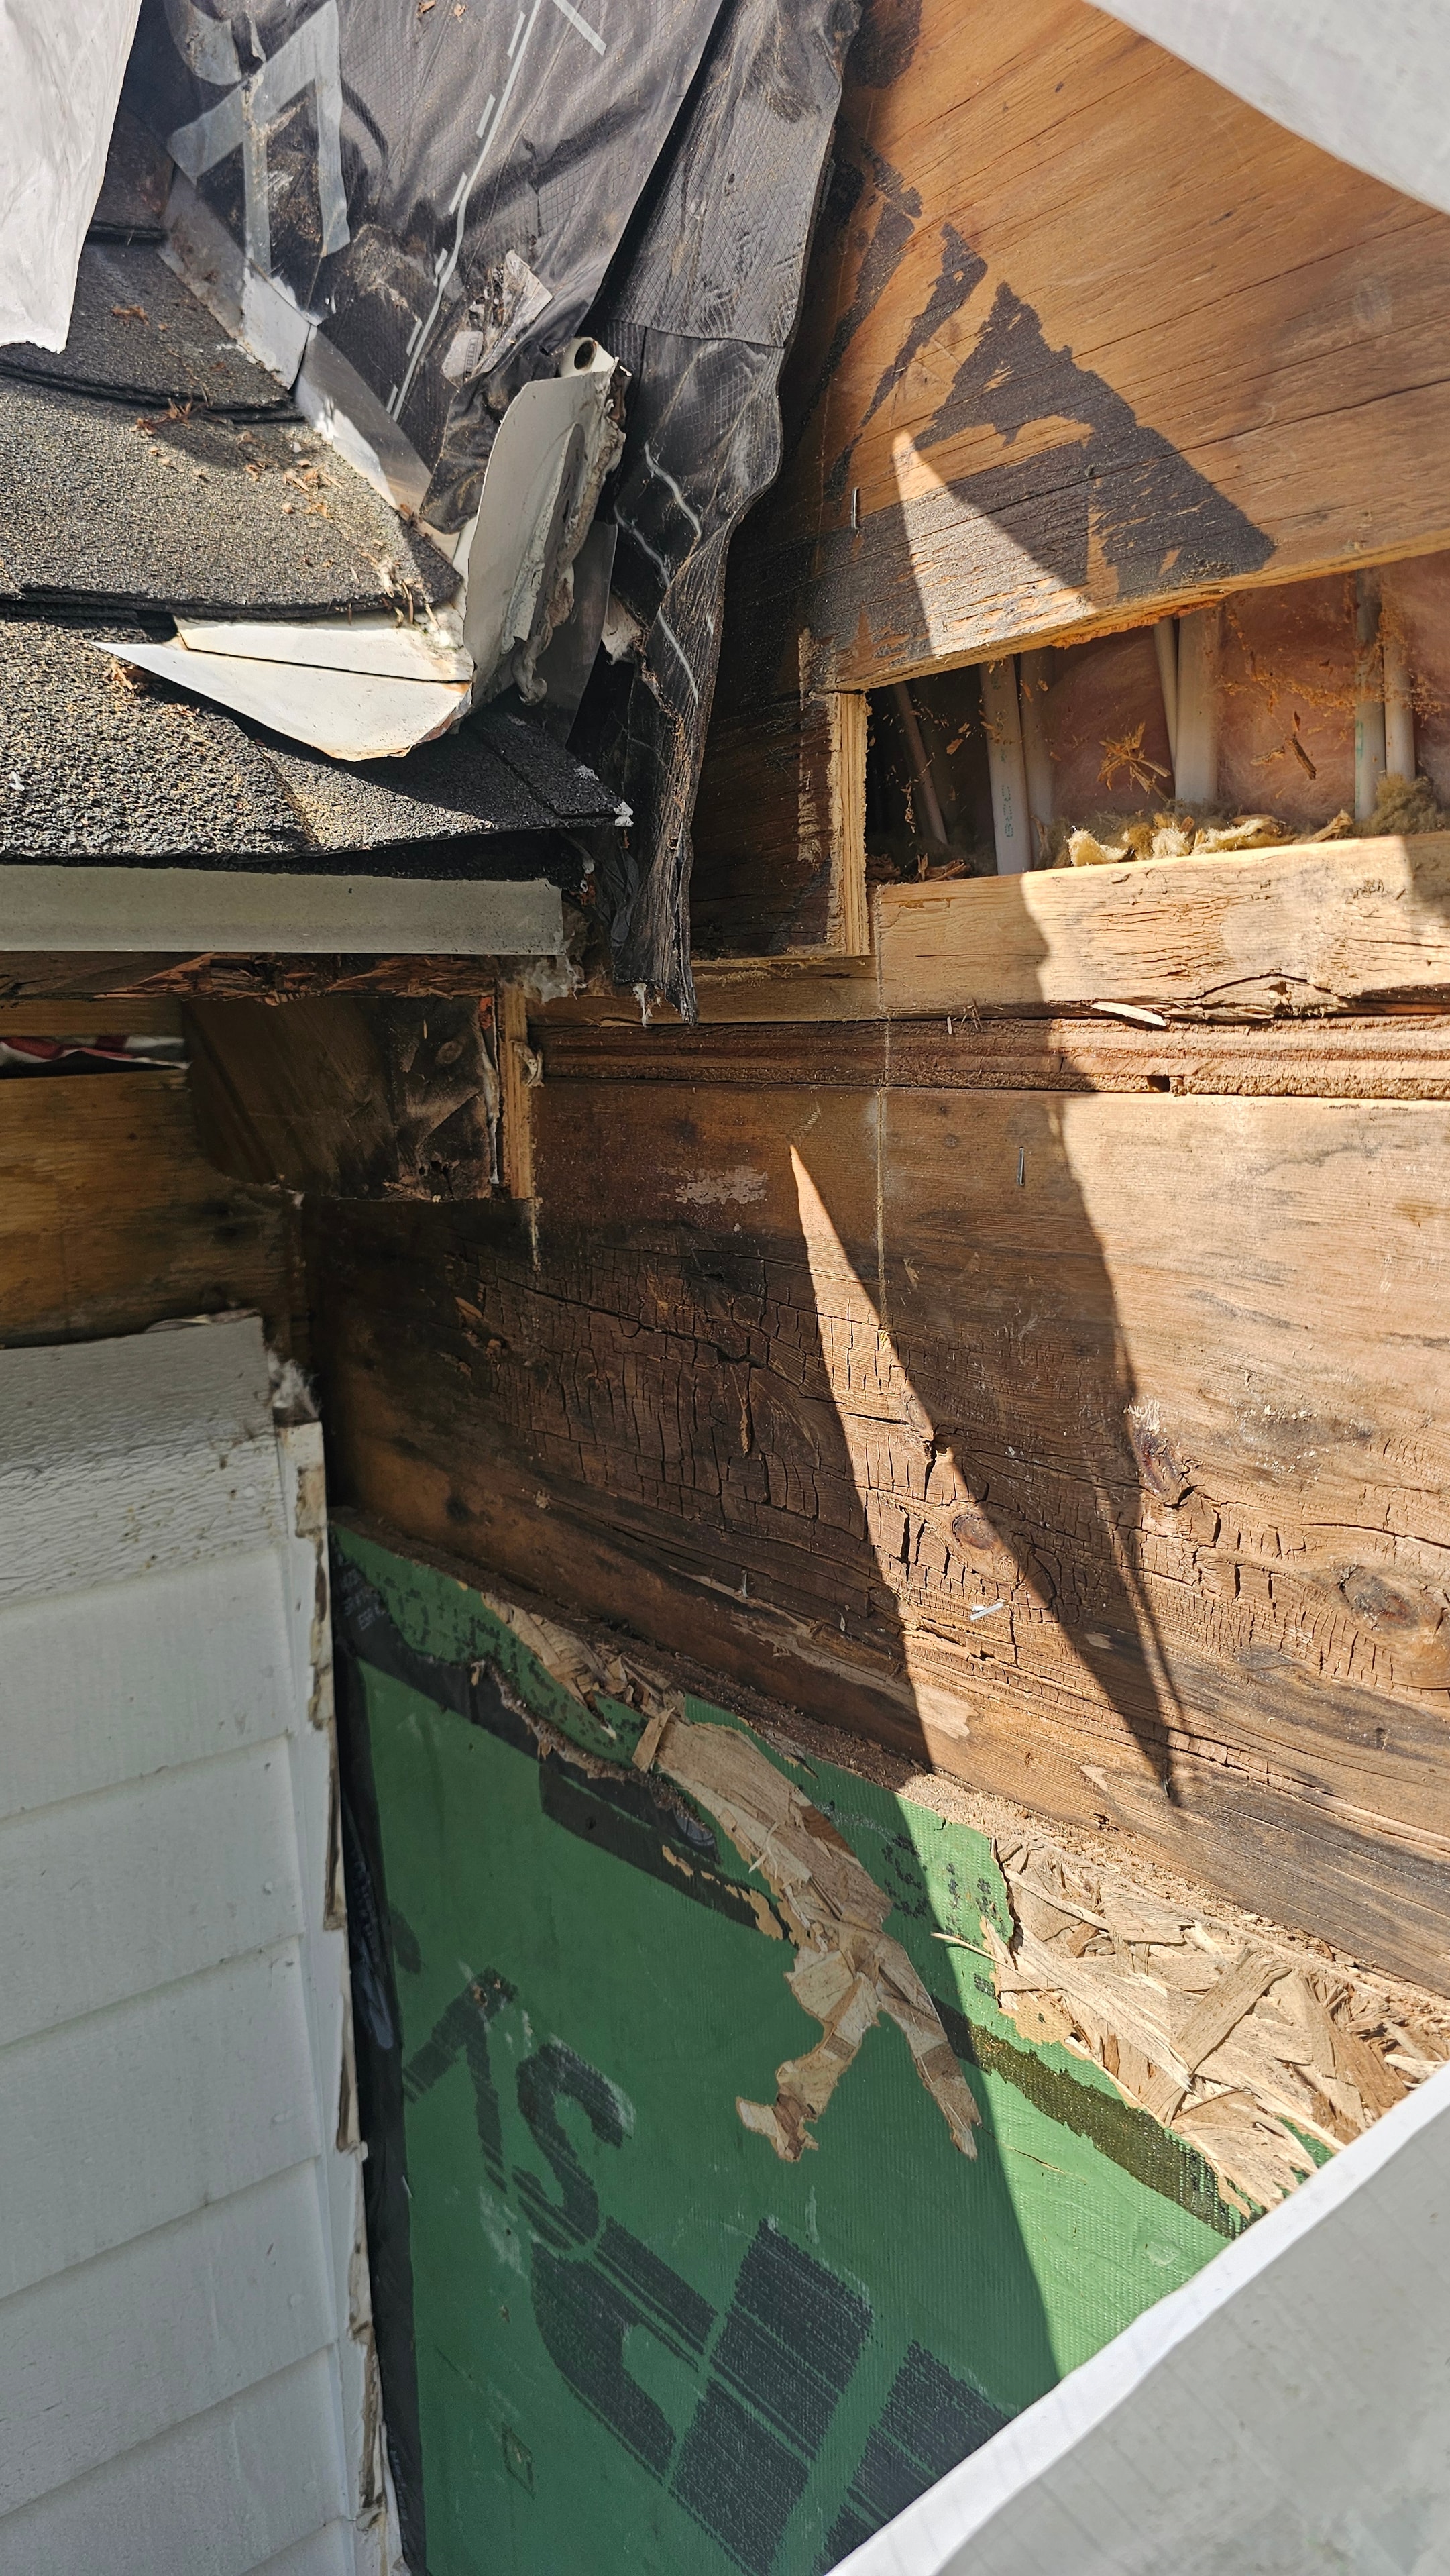
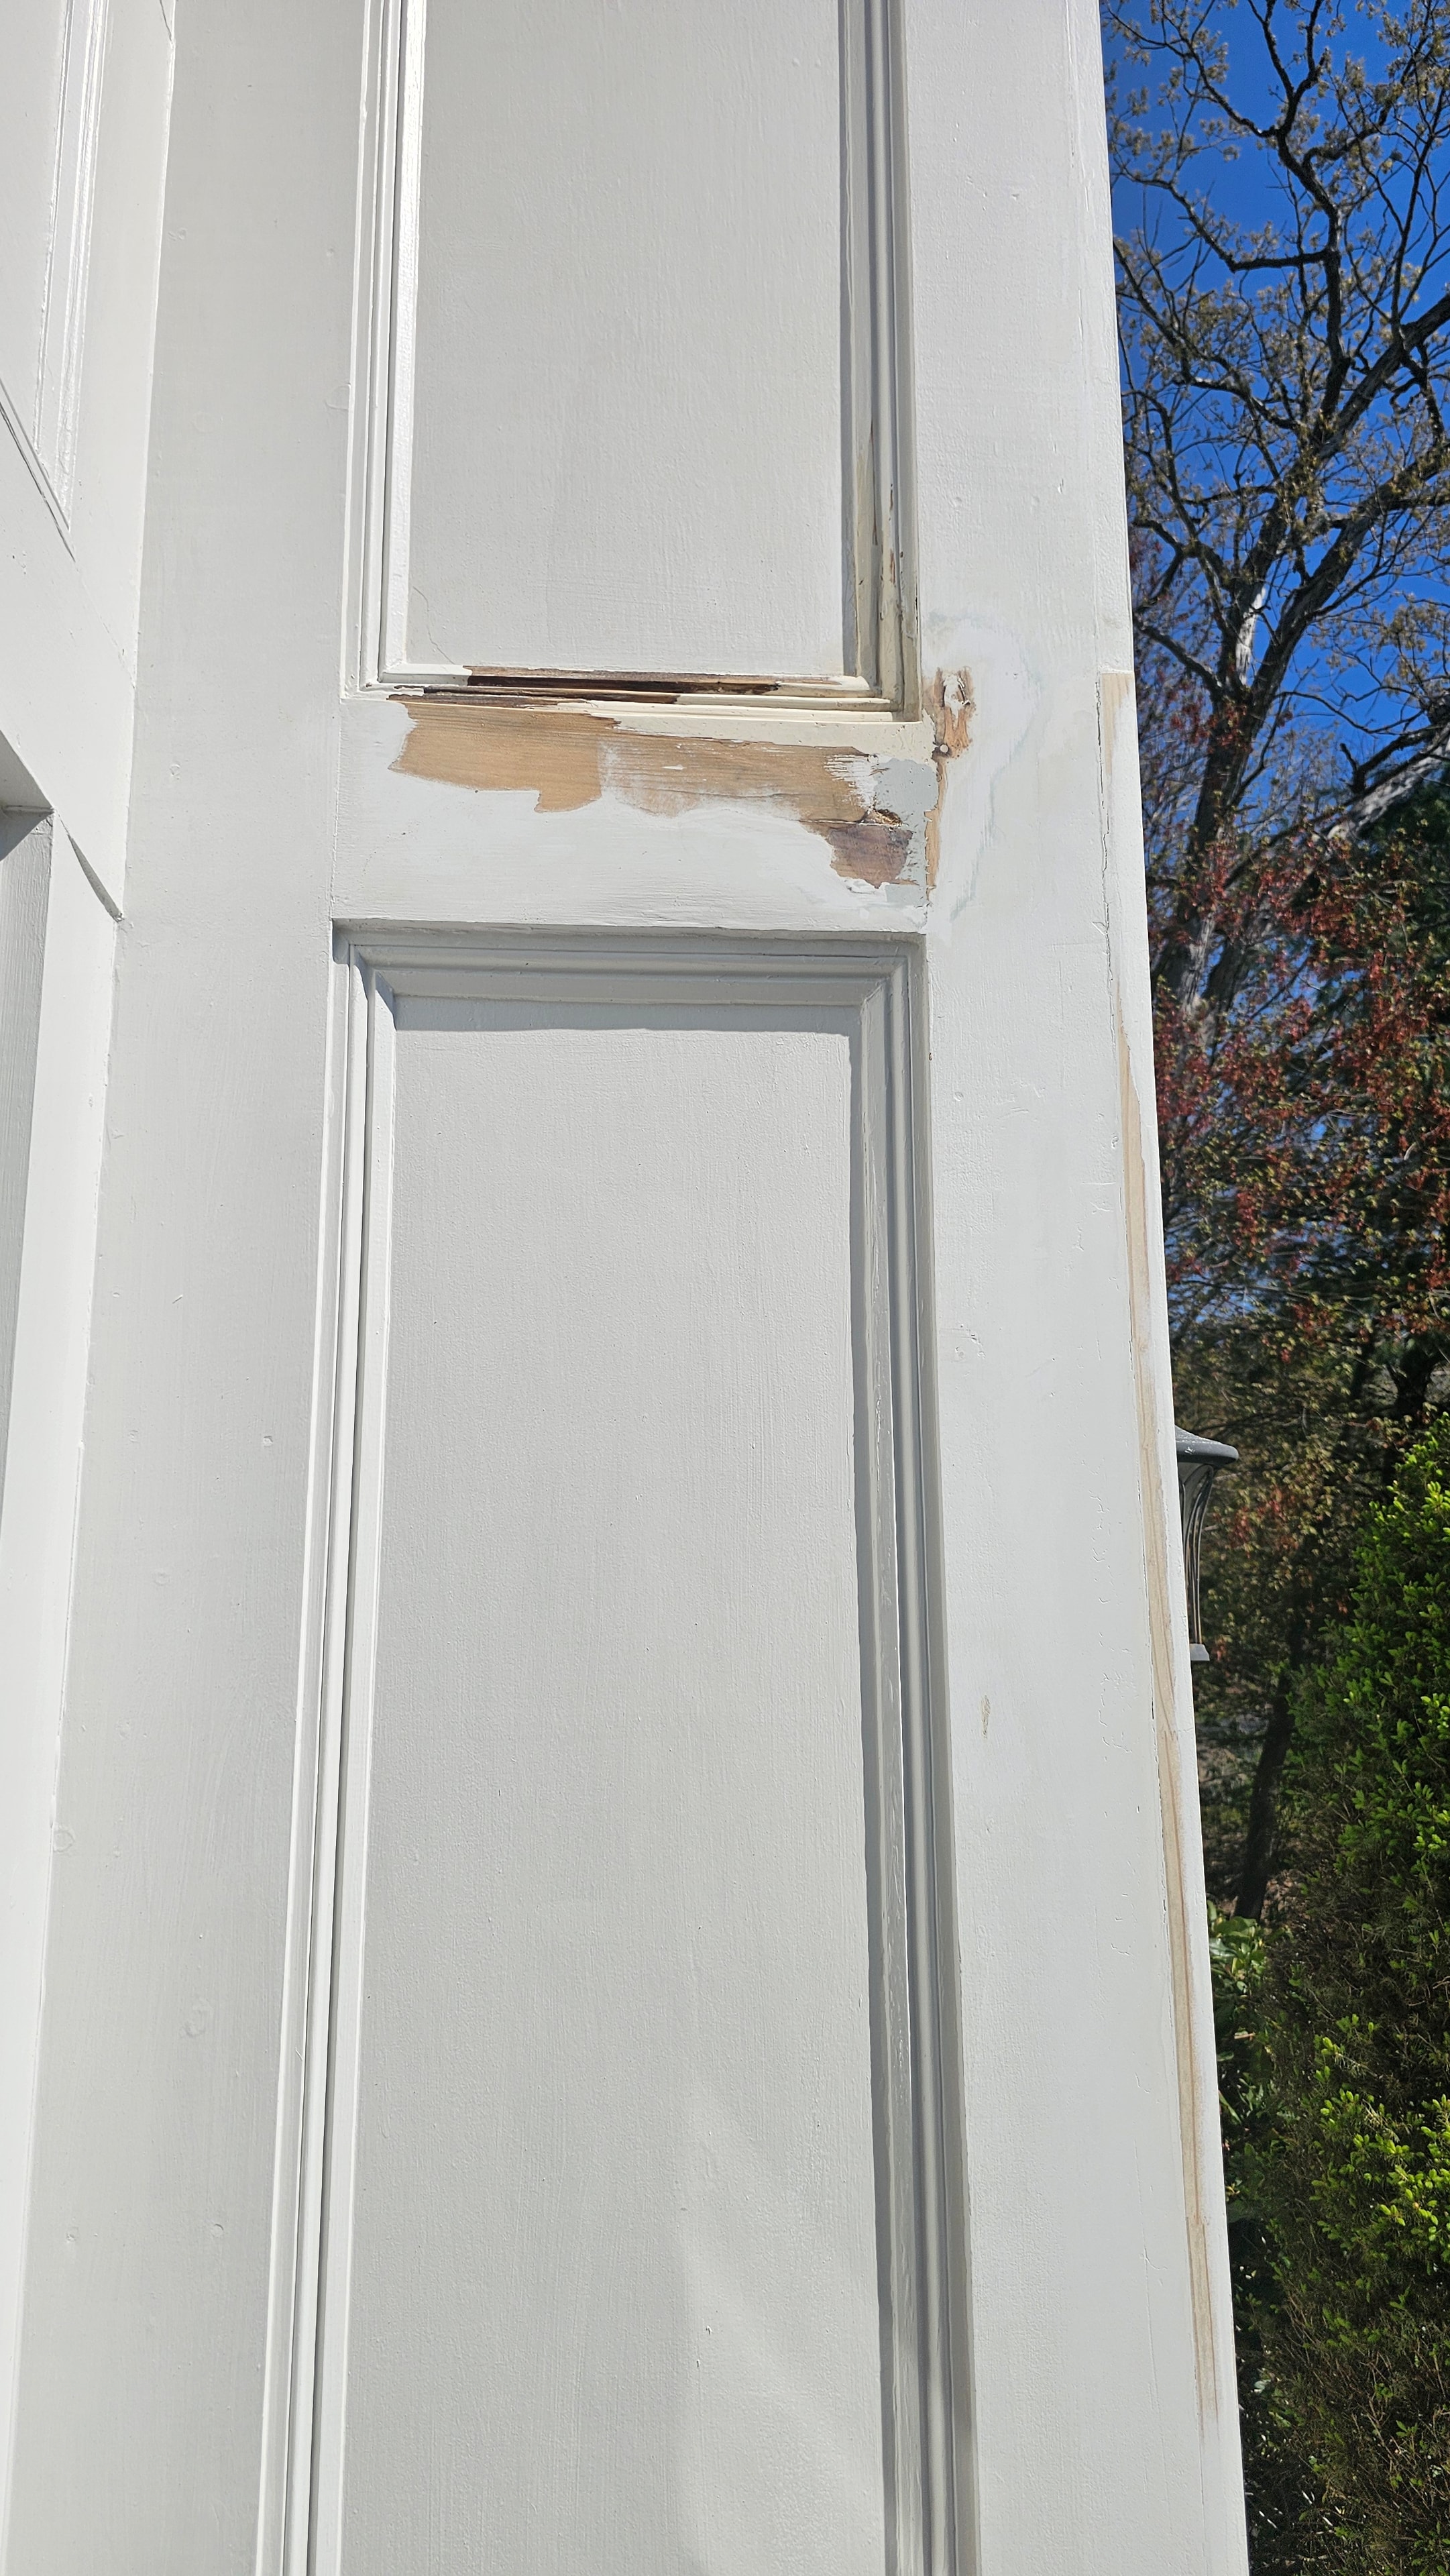
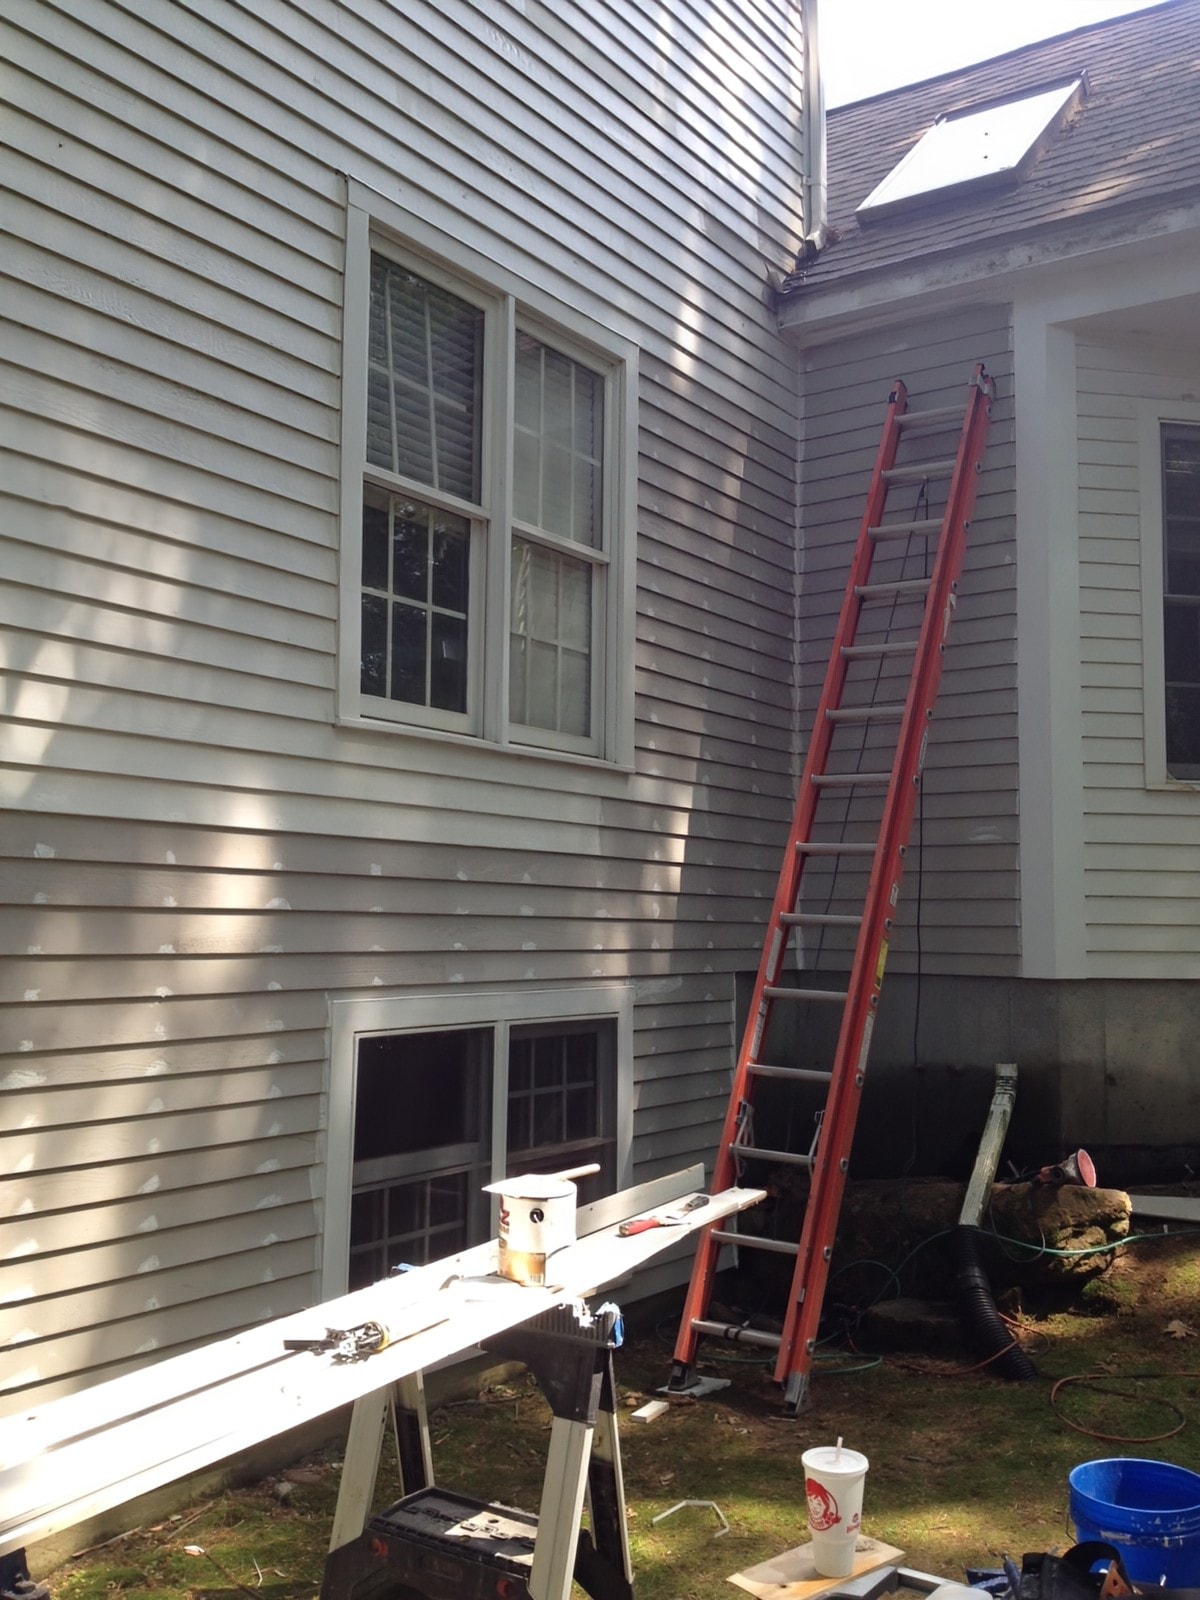
Some deterioration was visible at the surface, including damaged corner boards and window trim. Other areas became clearer once sections of siding were removed. The photographs around the roof-to-wall intersection show why opening an affected area can be an important part of restoration. Behind the exterior finish, the exposed wood showed damage that could not be understood from the painted surface alone. Documenting these stages tells the fuller story of the project—from the original condition through the repair work and back to a finished exterior.
Opening the Exterior
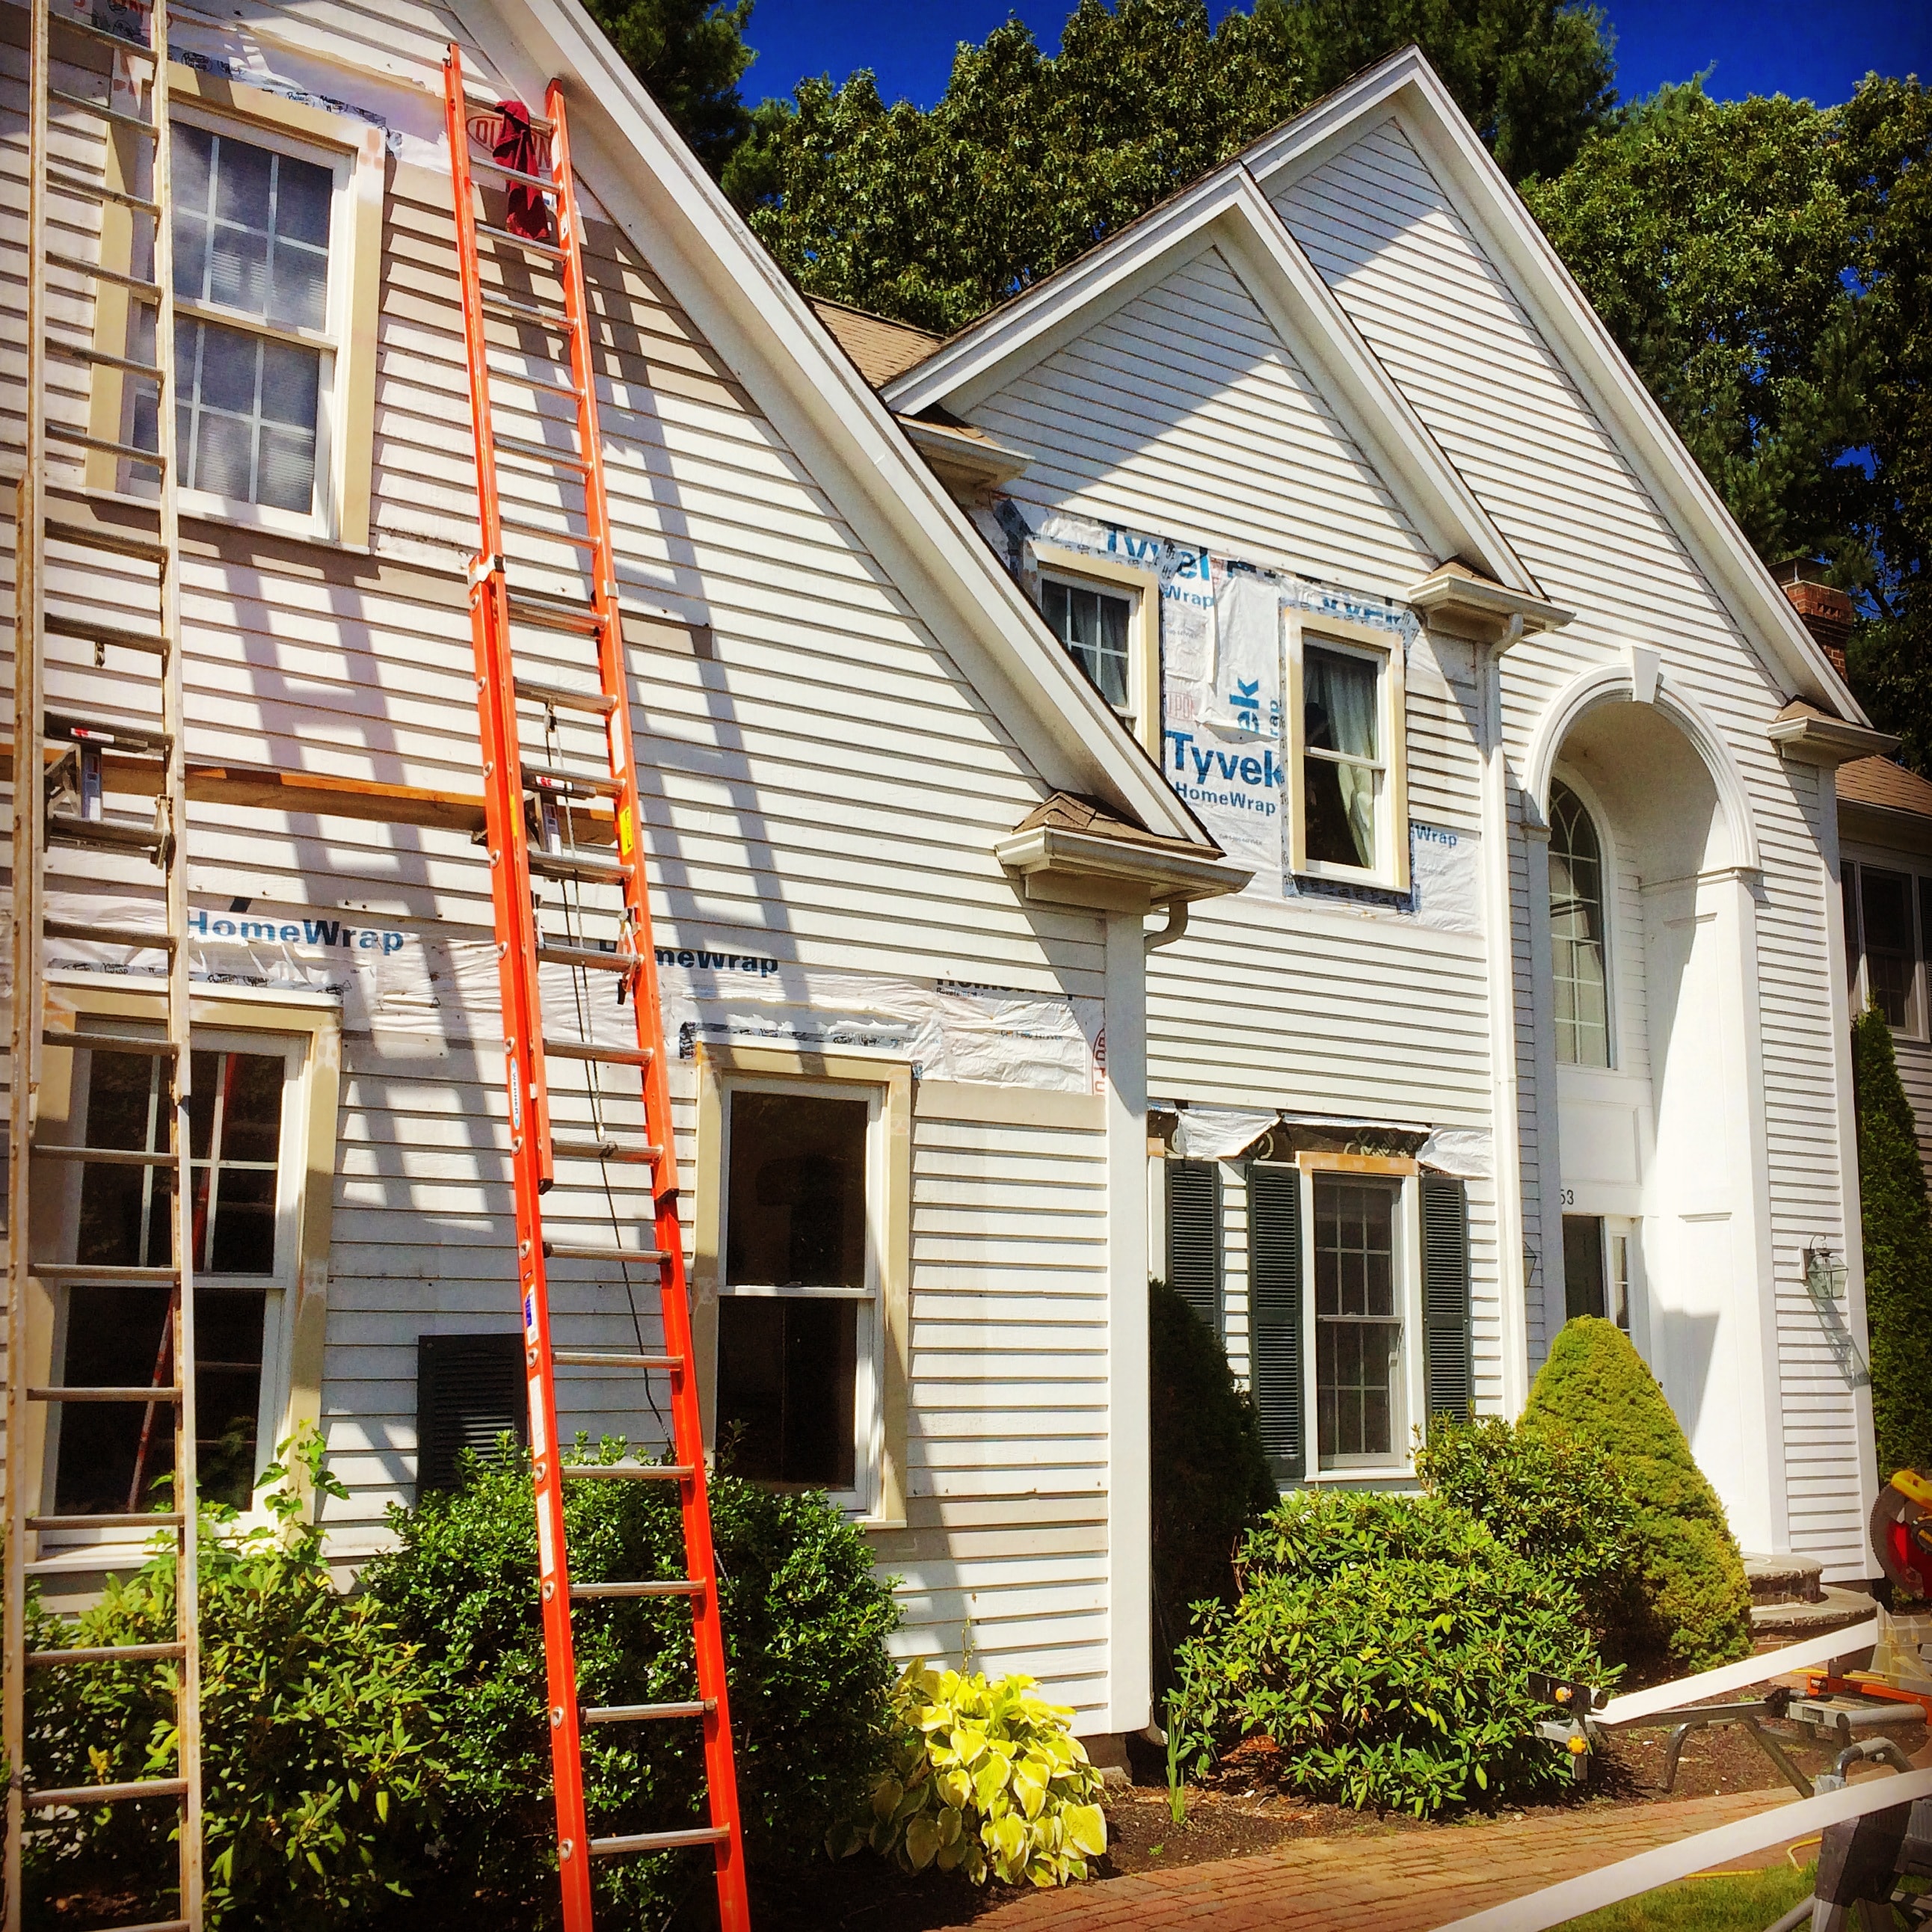
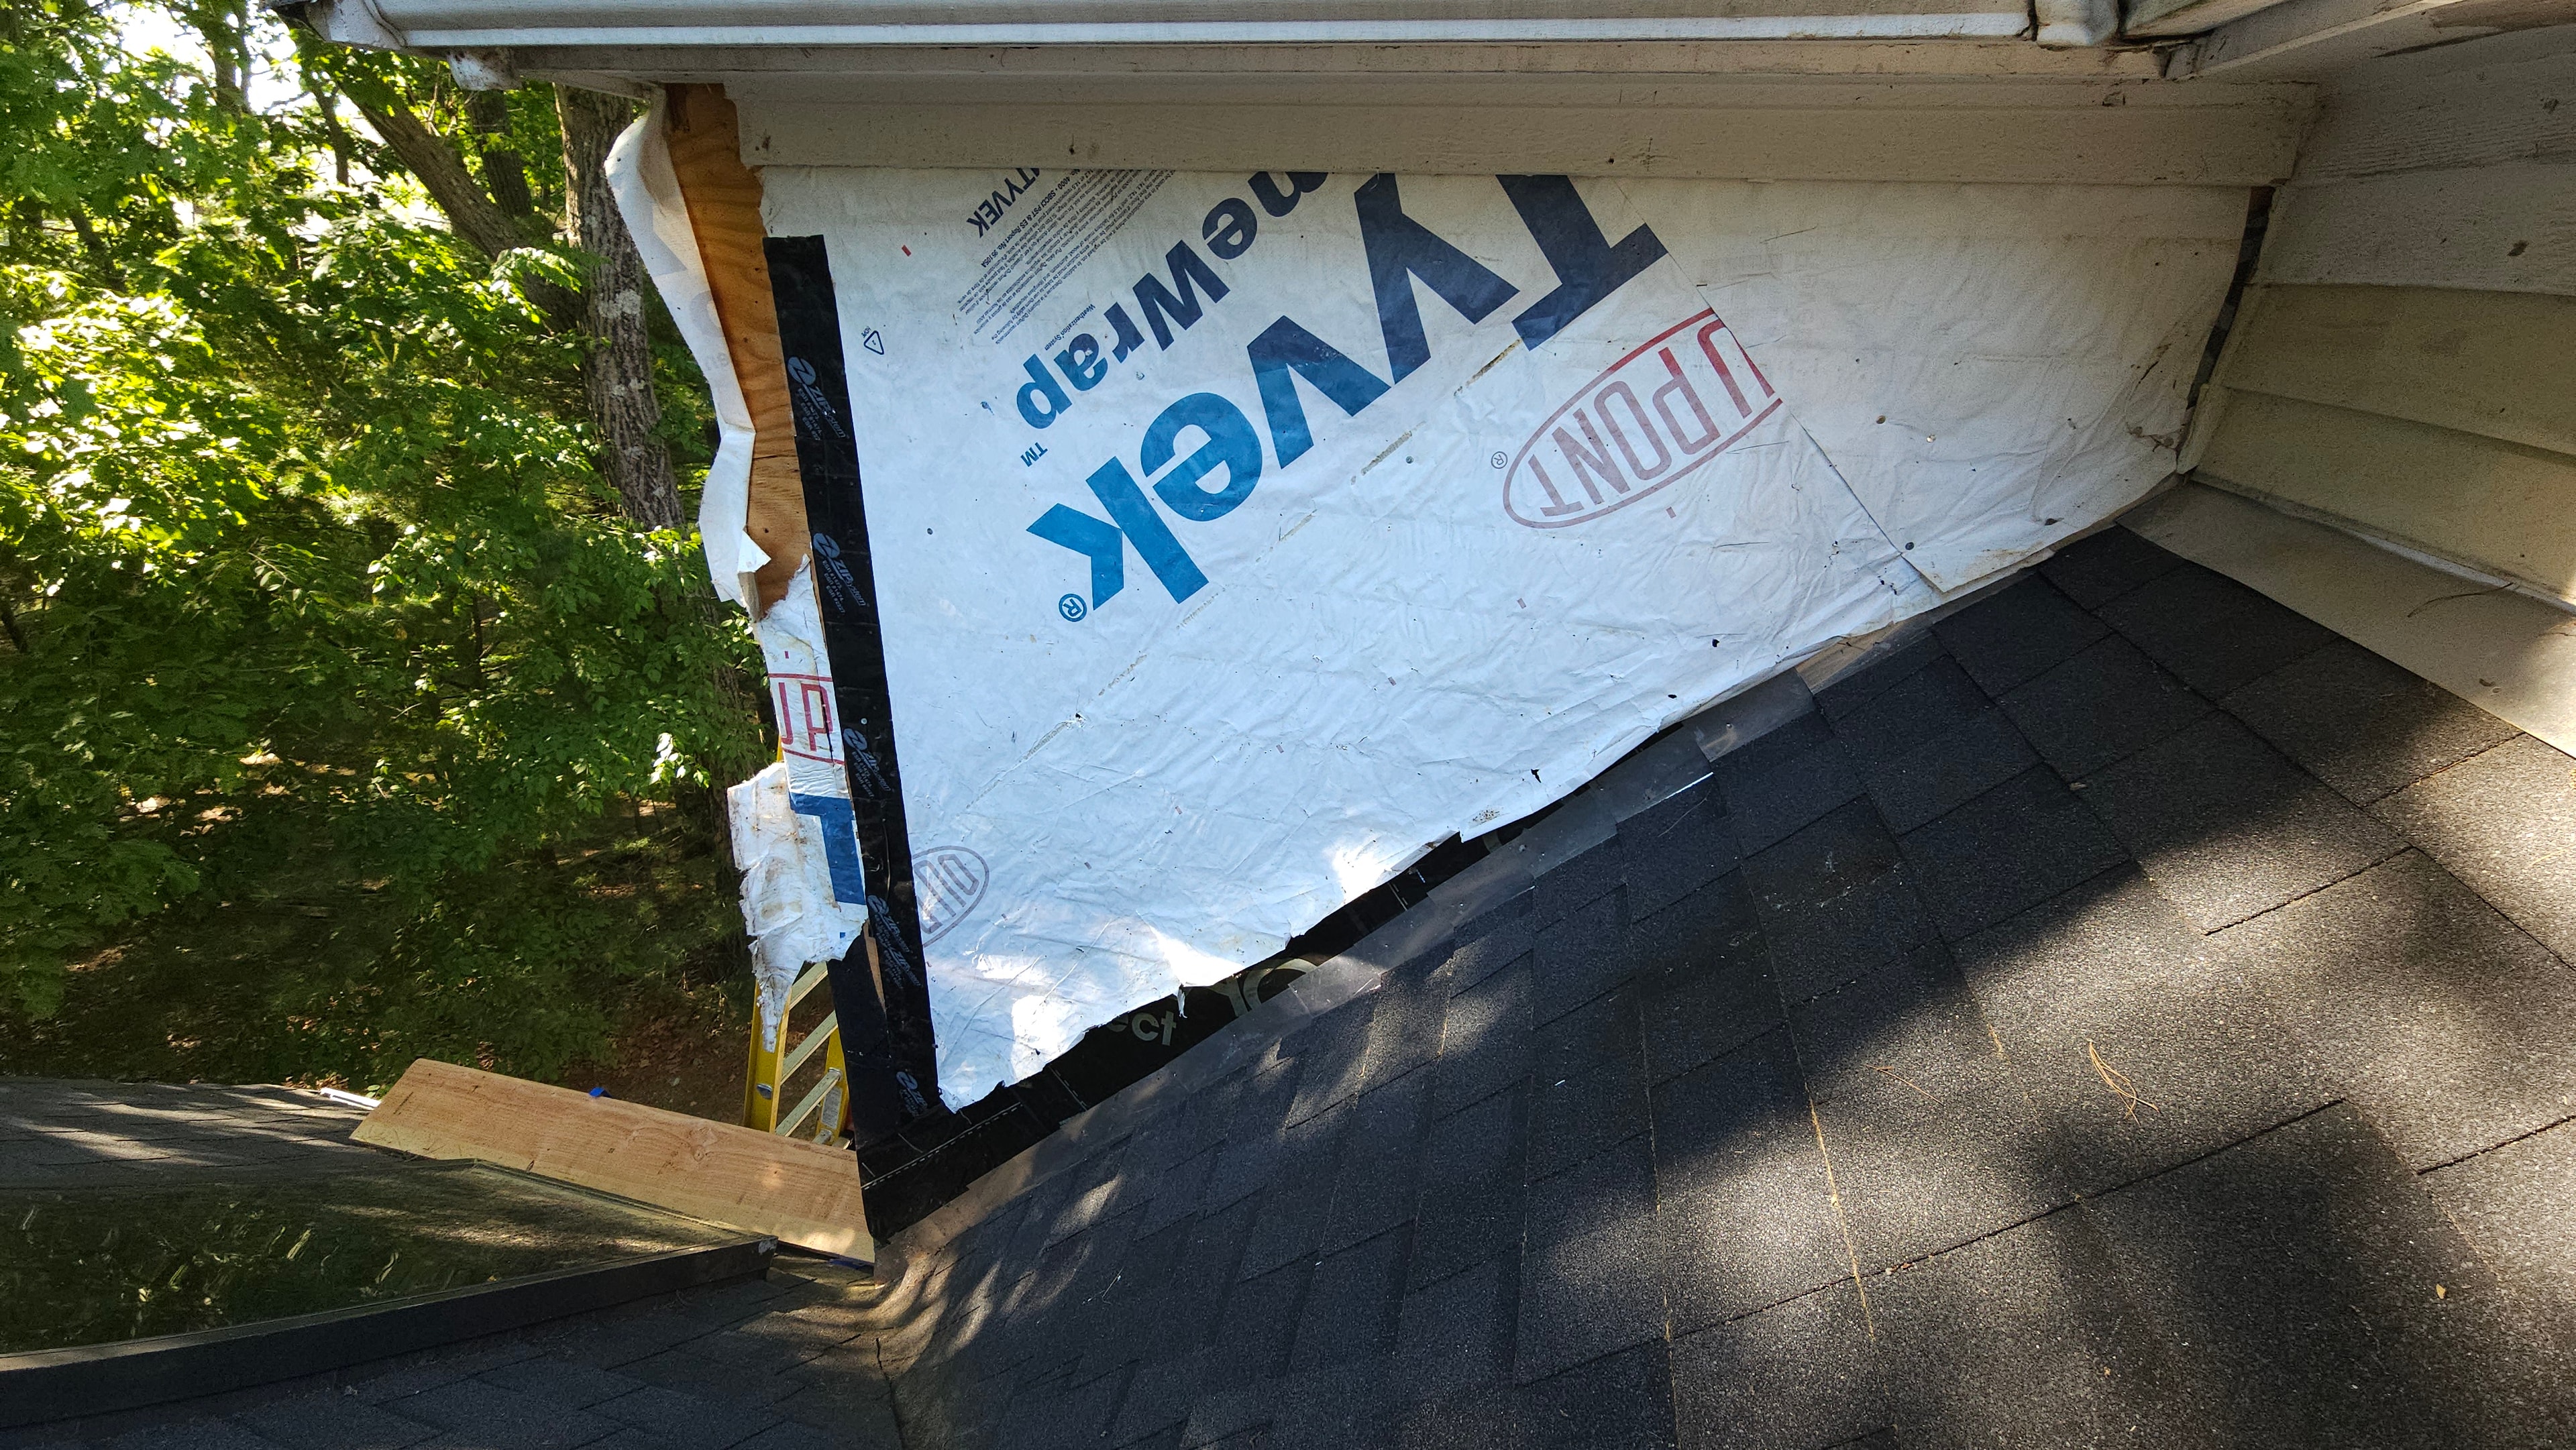
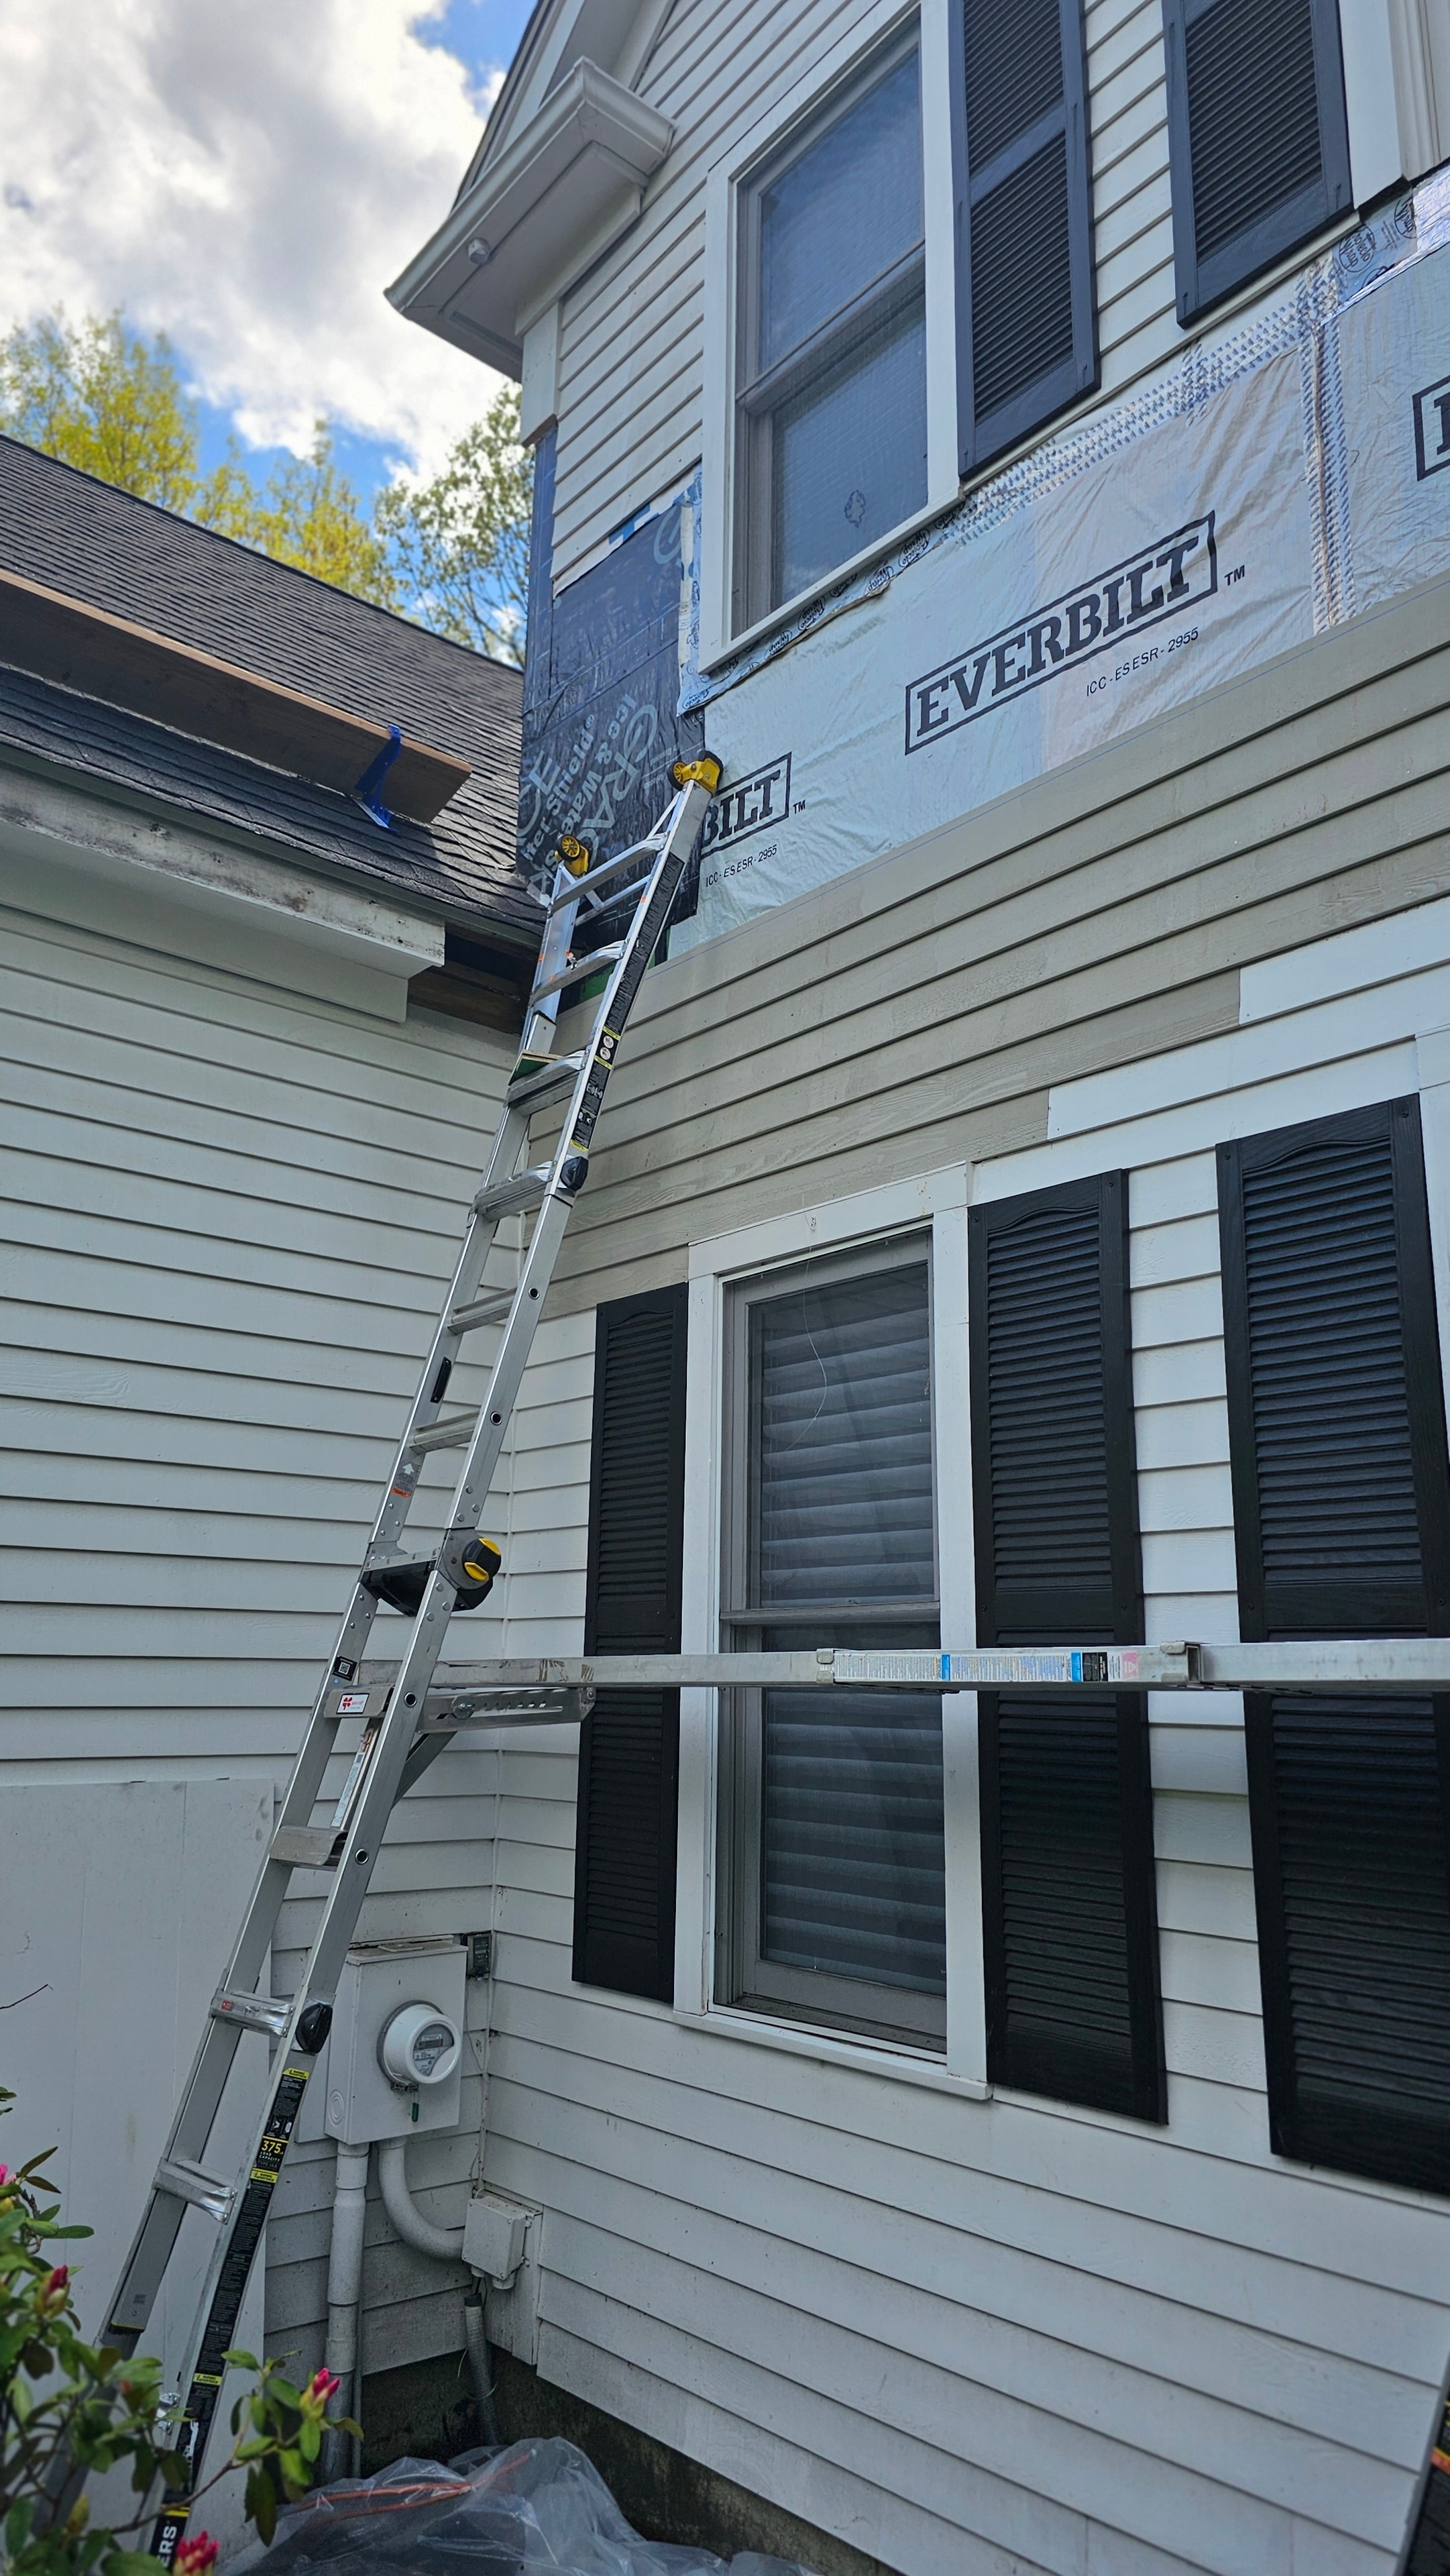
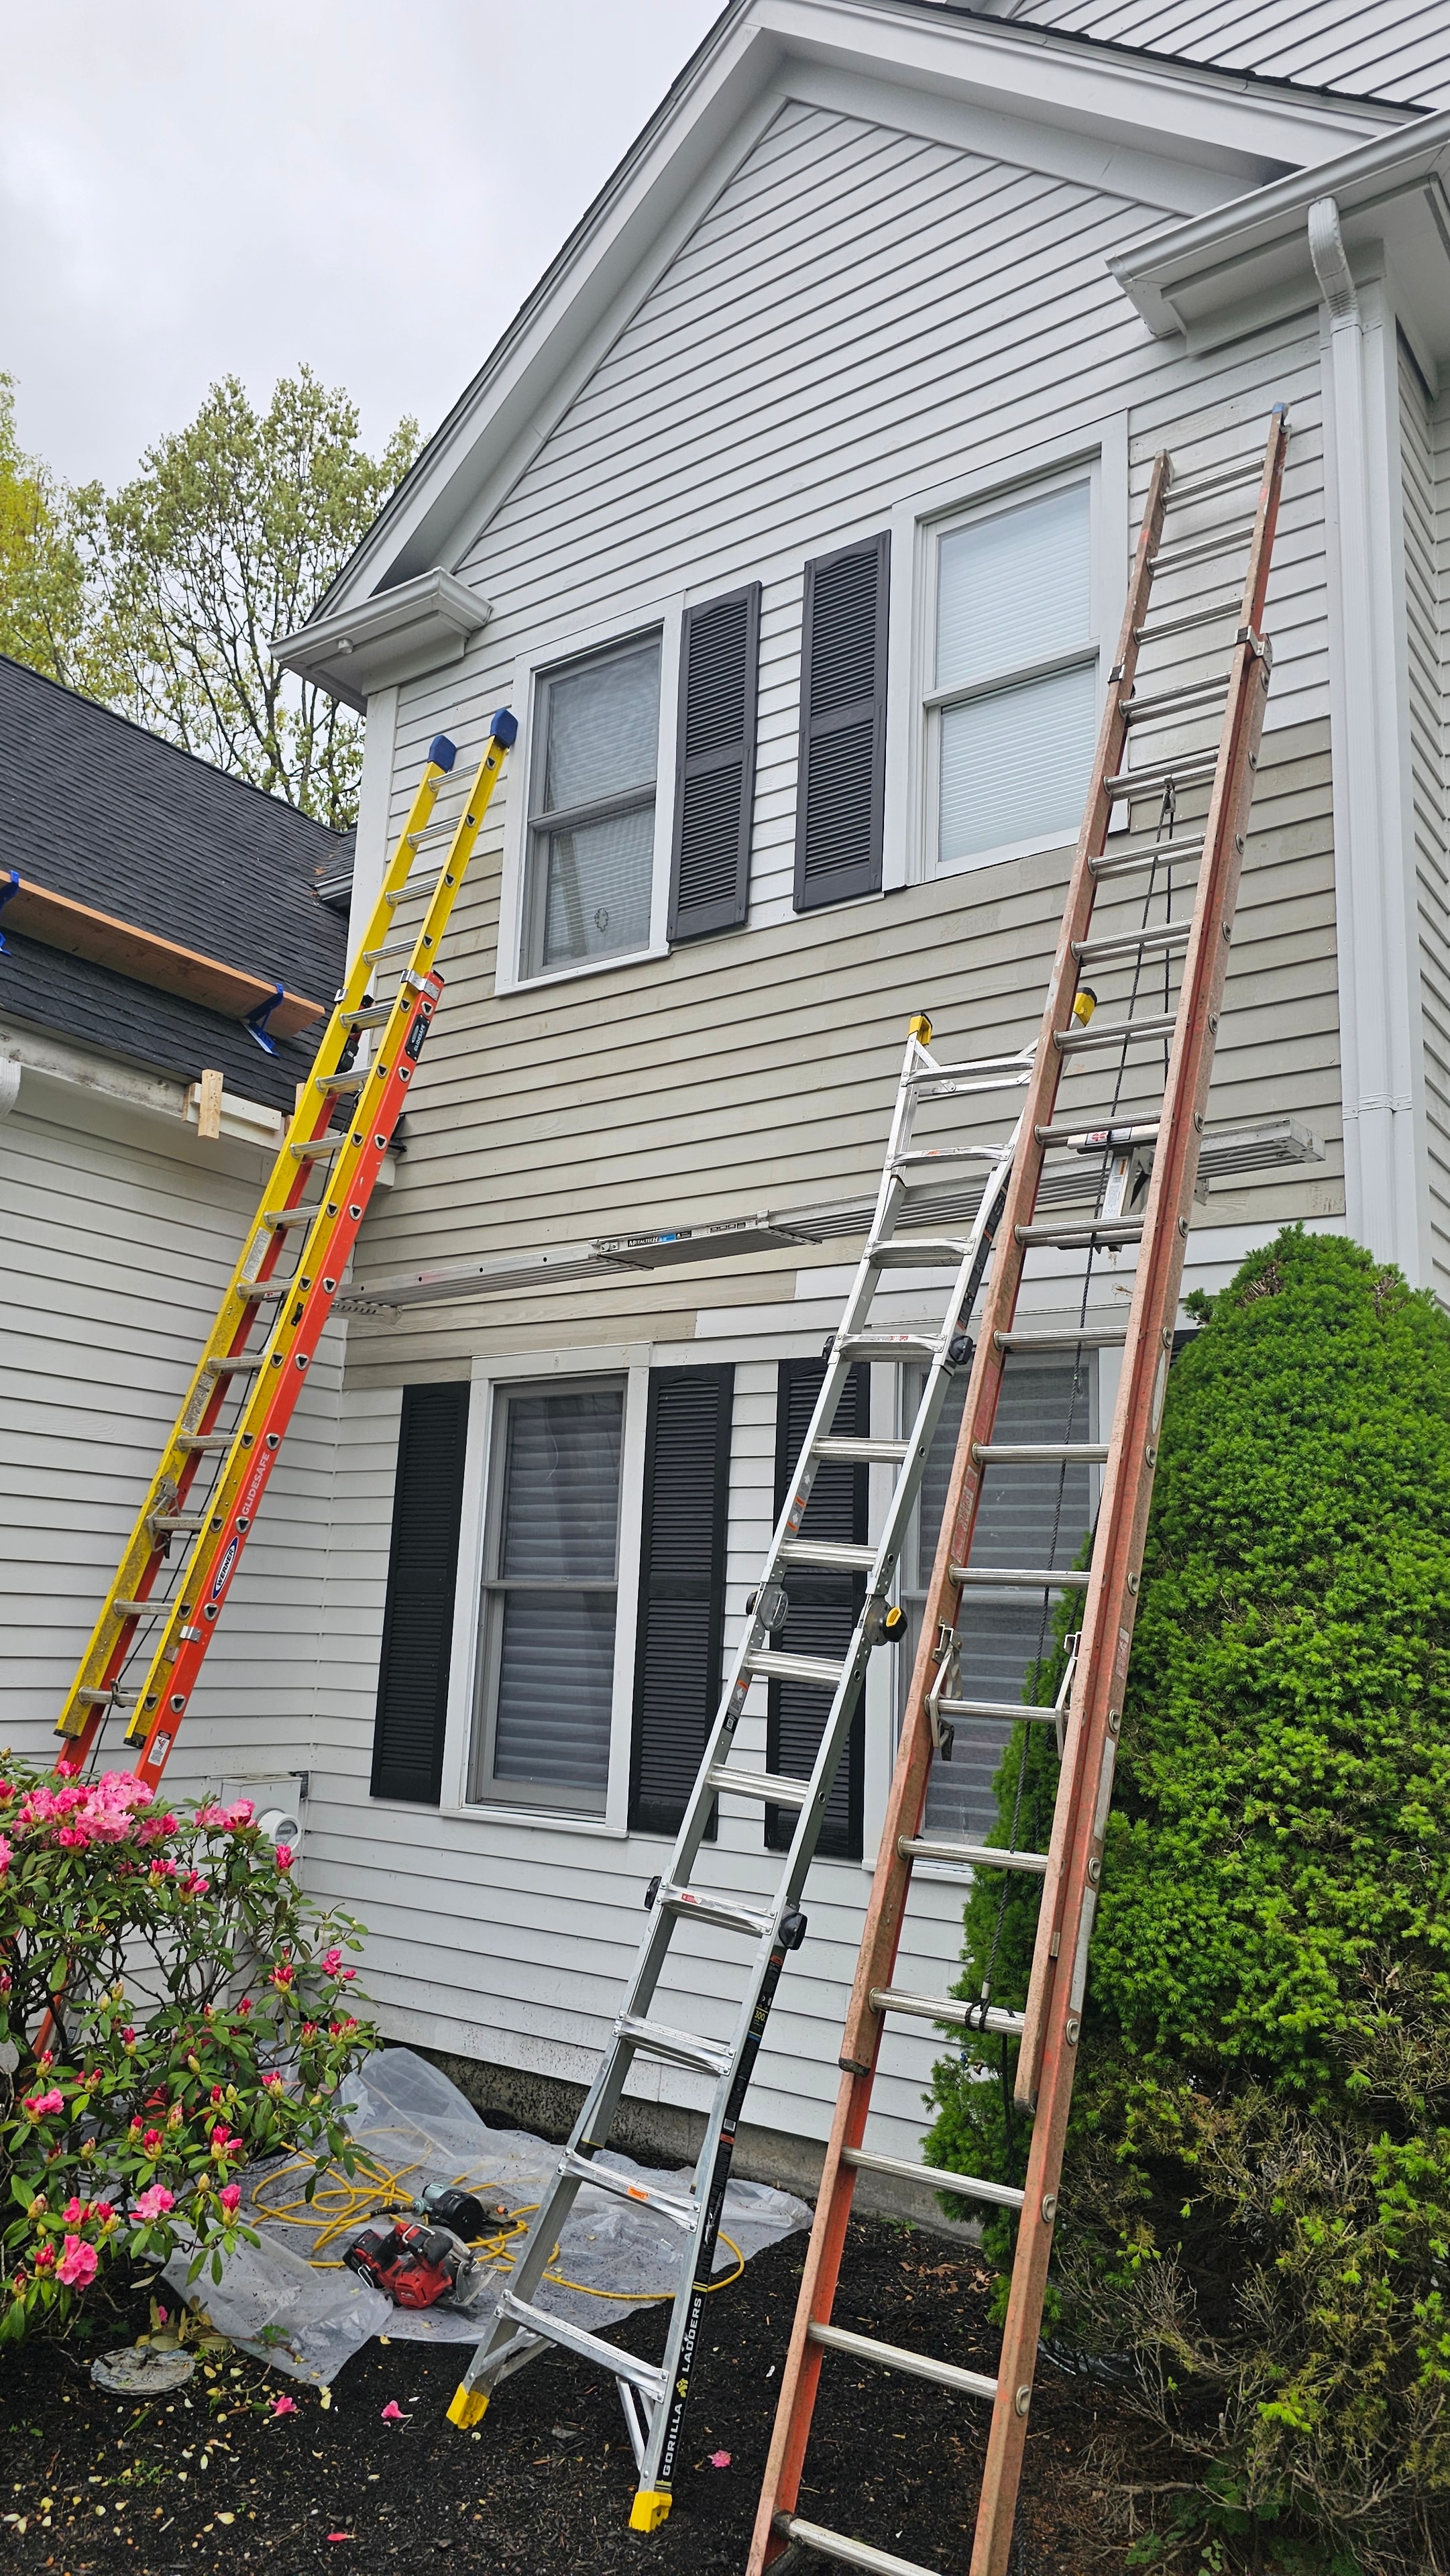
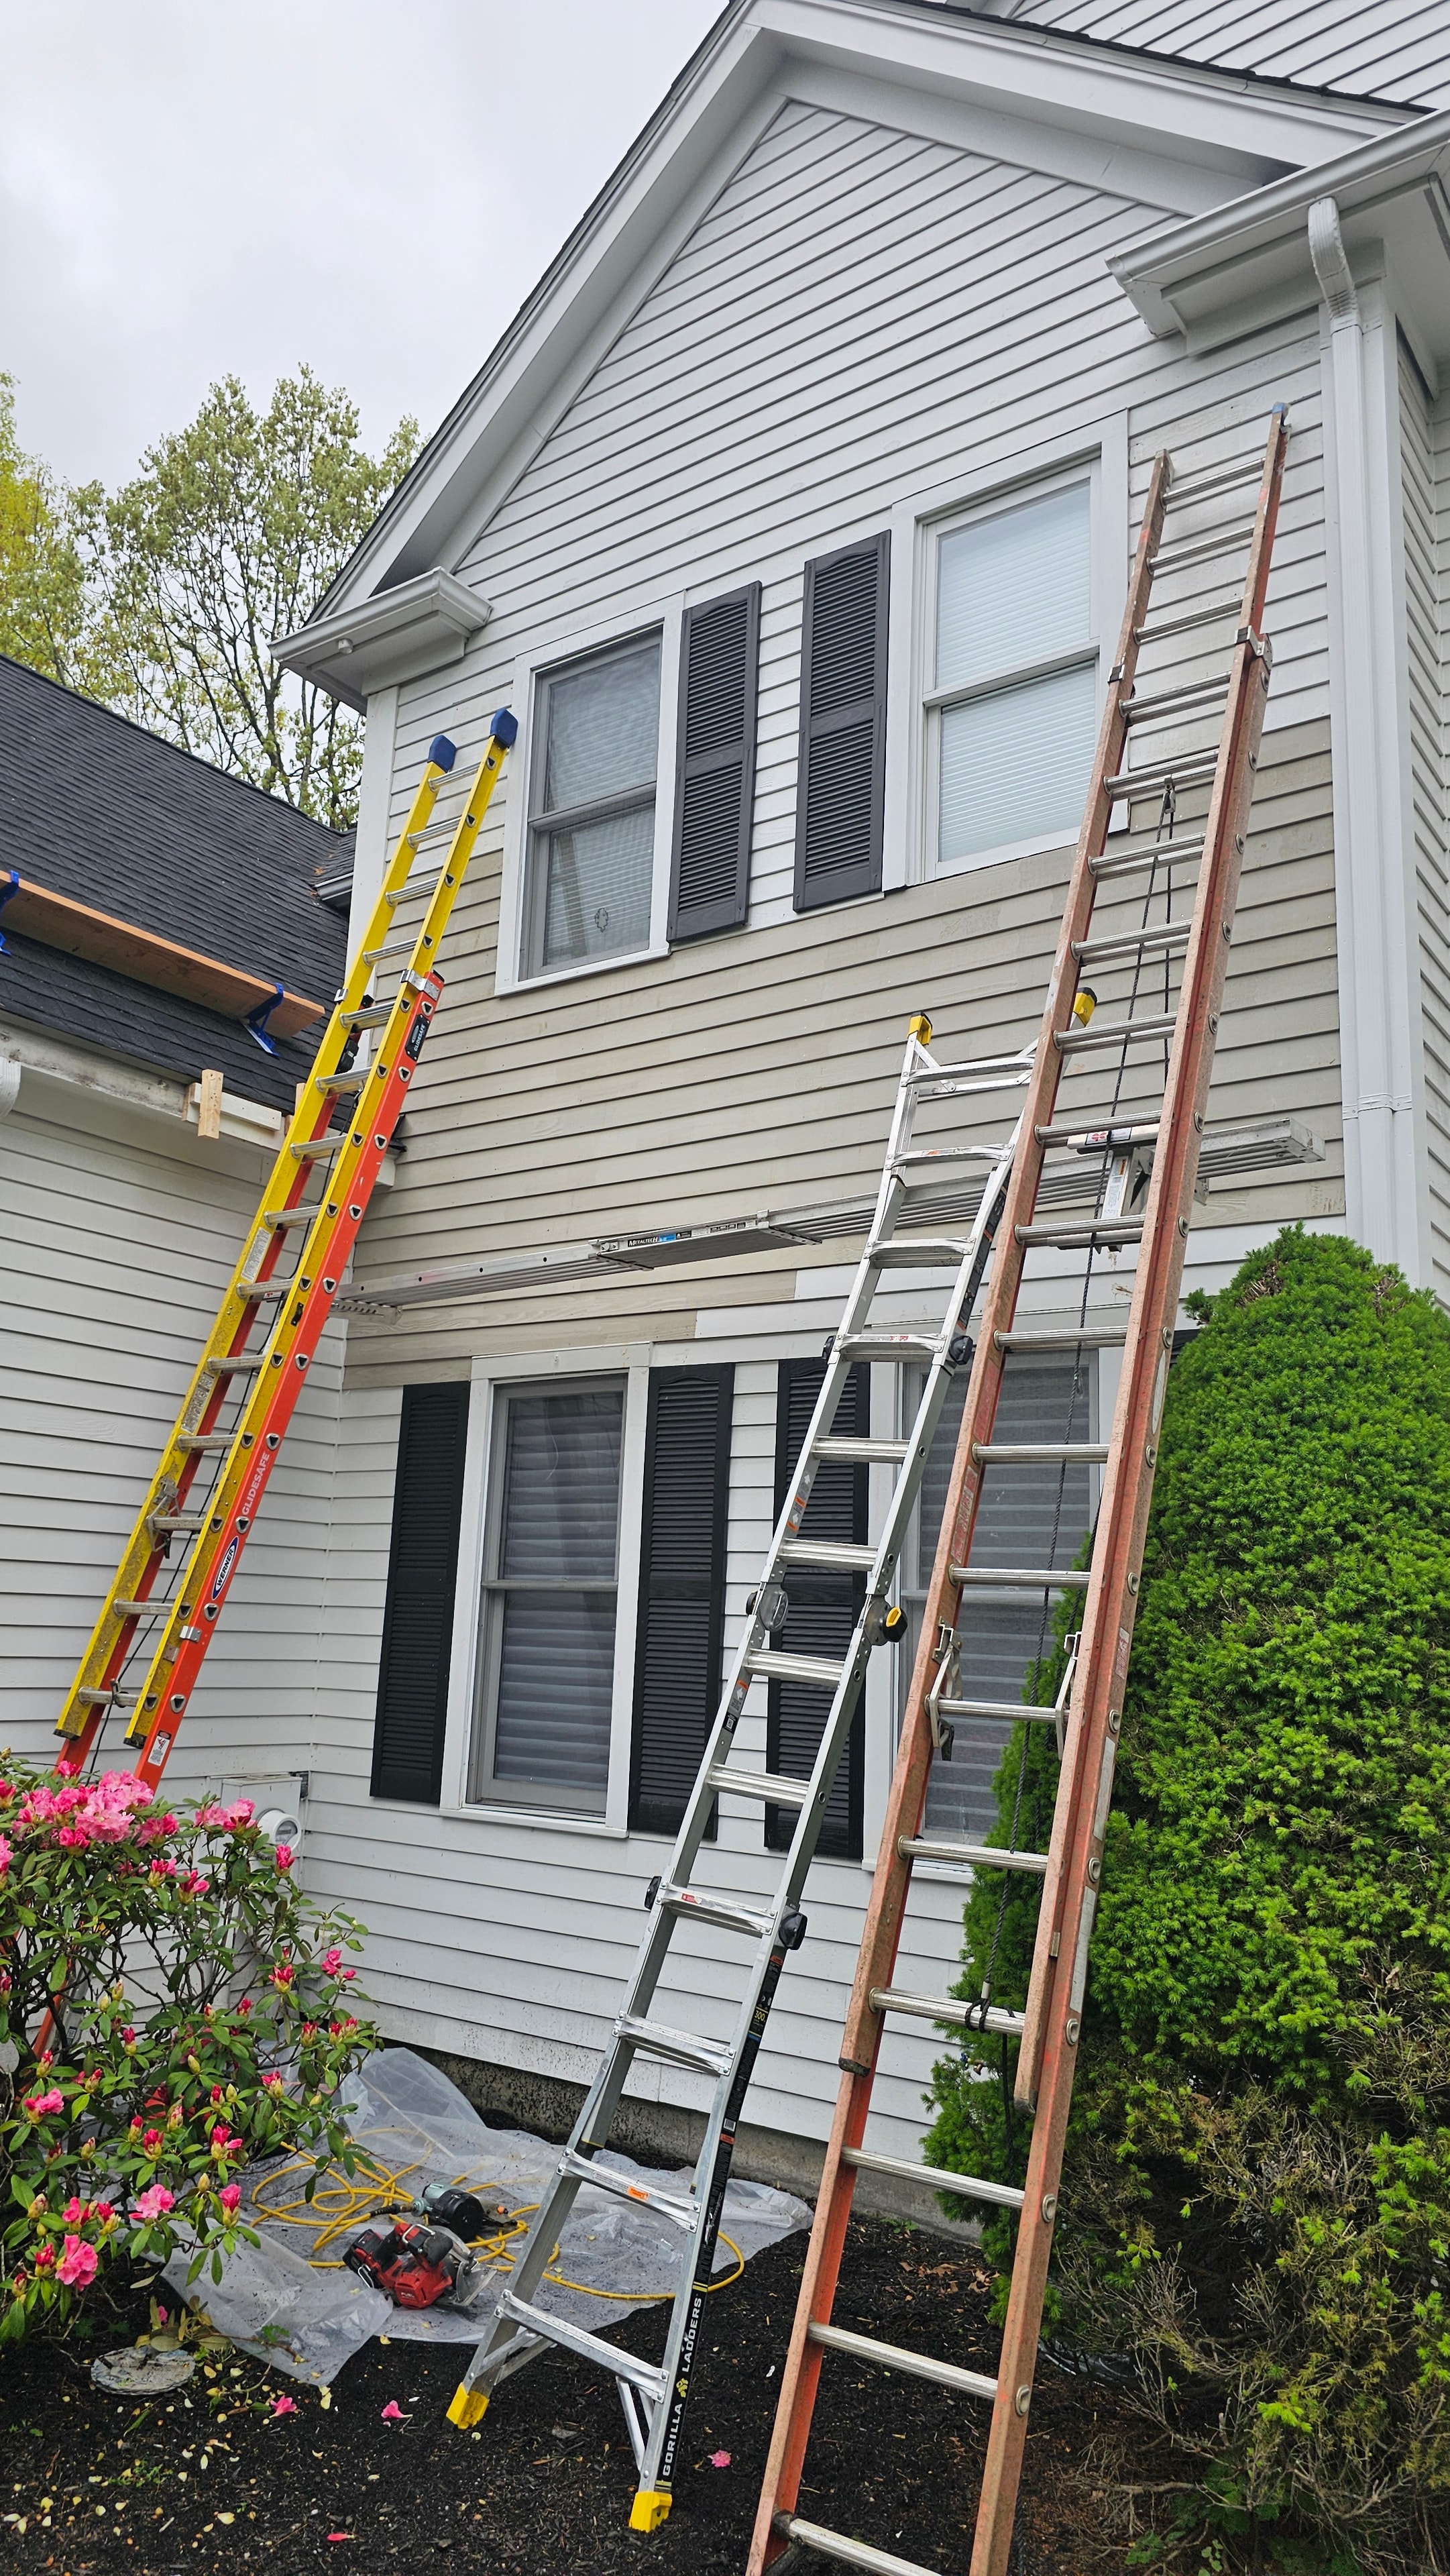
Wood replacement formed part of the restoration alongside repairs to retained material. The progress photographs show sections of the exterior opened for access, followed by membrane, flashing, and siding work. These views provide context for the carpentry behind the finished appearance. On the completed areas, siding courses and trim details once again form a continuous exterior surface. The visible finish is the final stage of a more involved repair process.
Wrap and Flashing
The project also included localized epoxy repairs as part of the wood-restoration work. Window details and lower corner-board areas provide useful close-up examples of the repair stages. The photographs show damaged areas, shaped repair material, and subsequent finished surfaces. These details deserve a place in the project story. A finished photograph shows the appearance of the result; the progress photographs show the work involved in getting there.
Epoxy Repairs
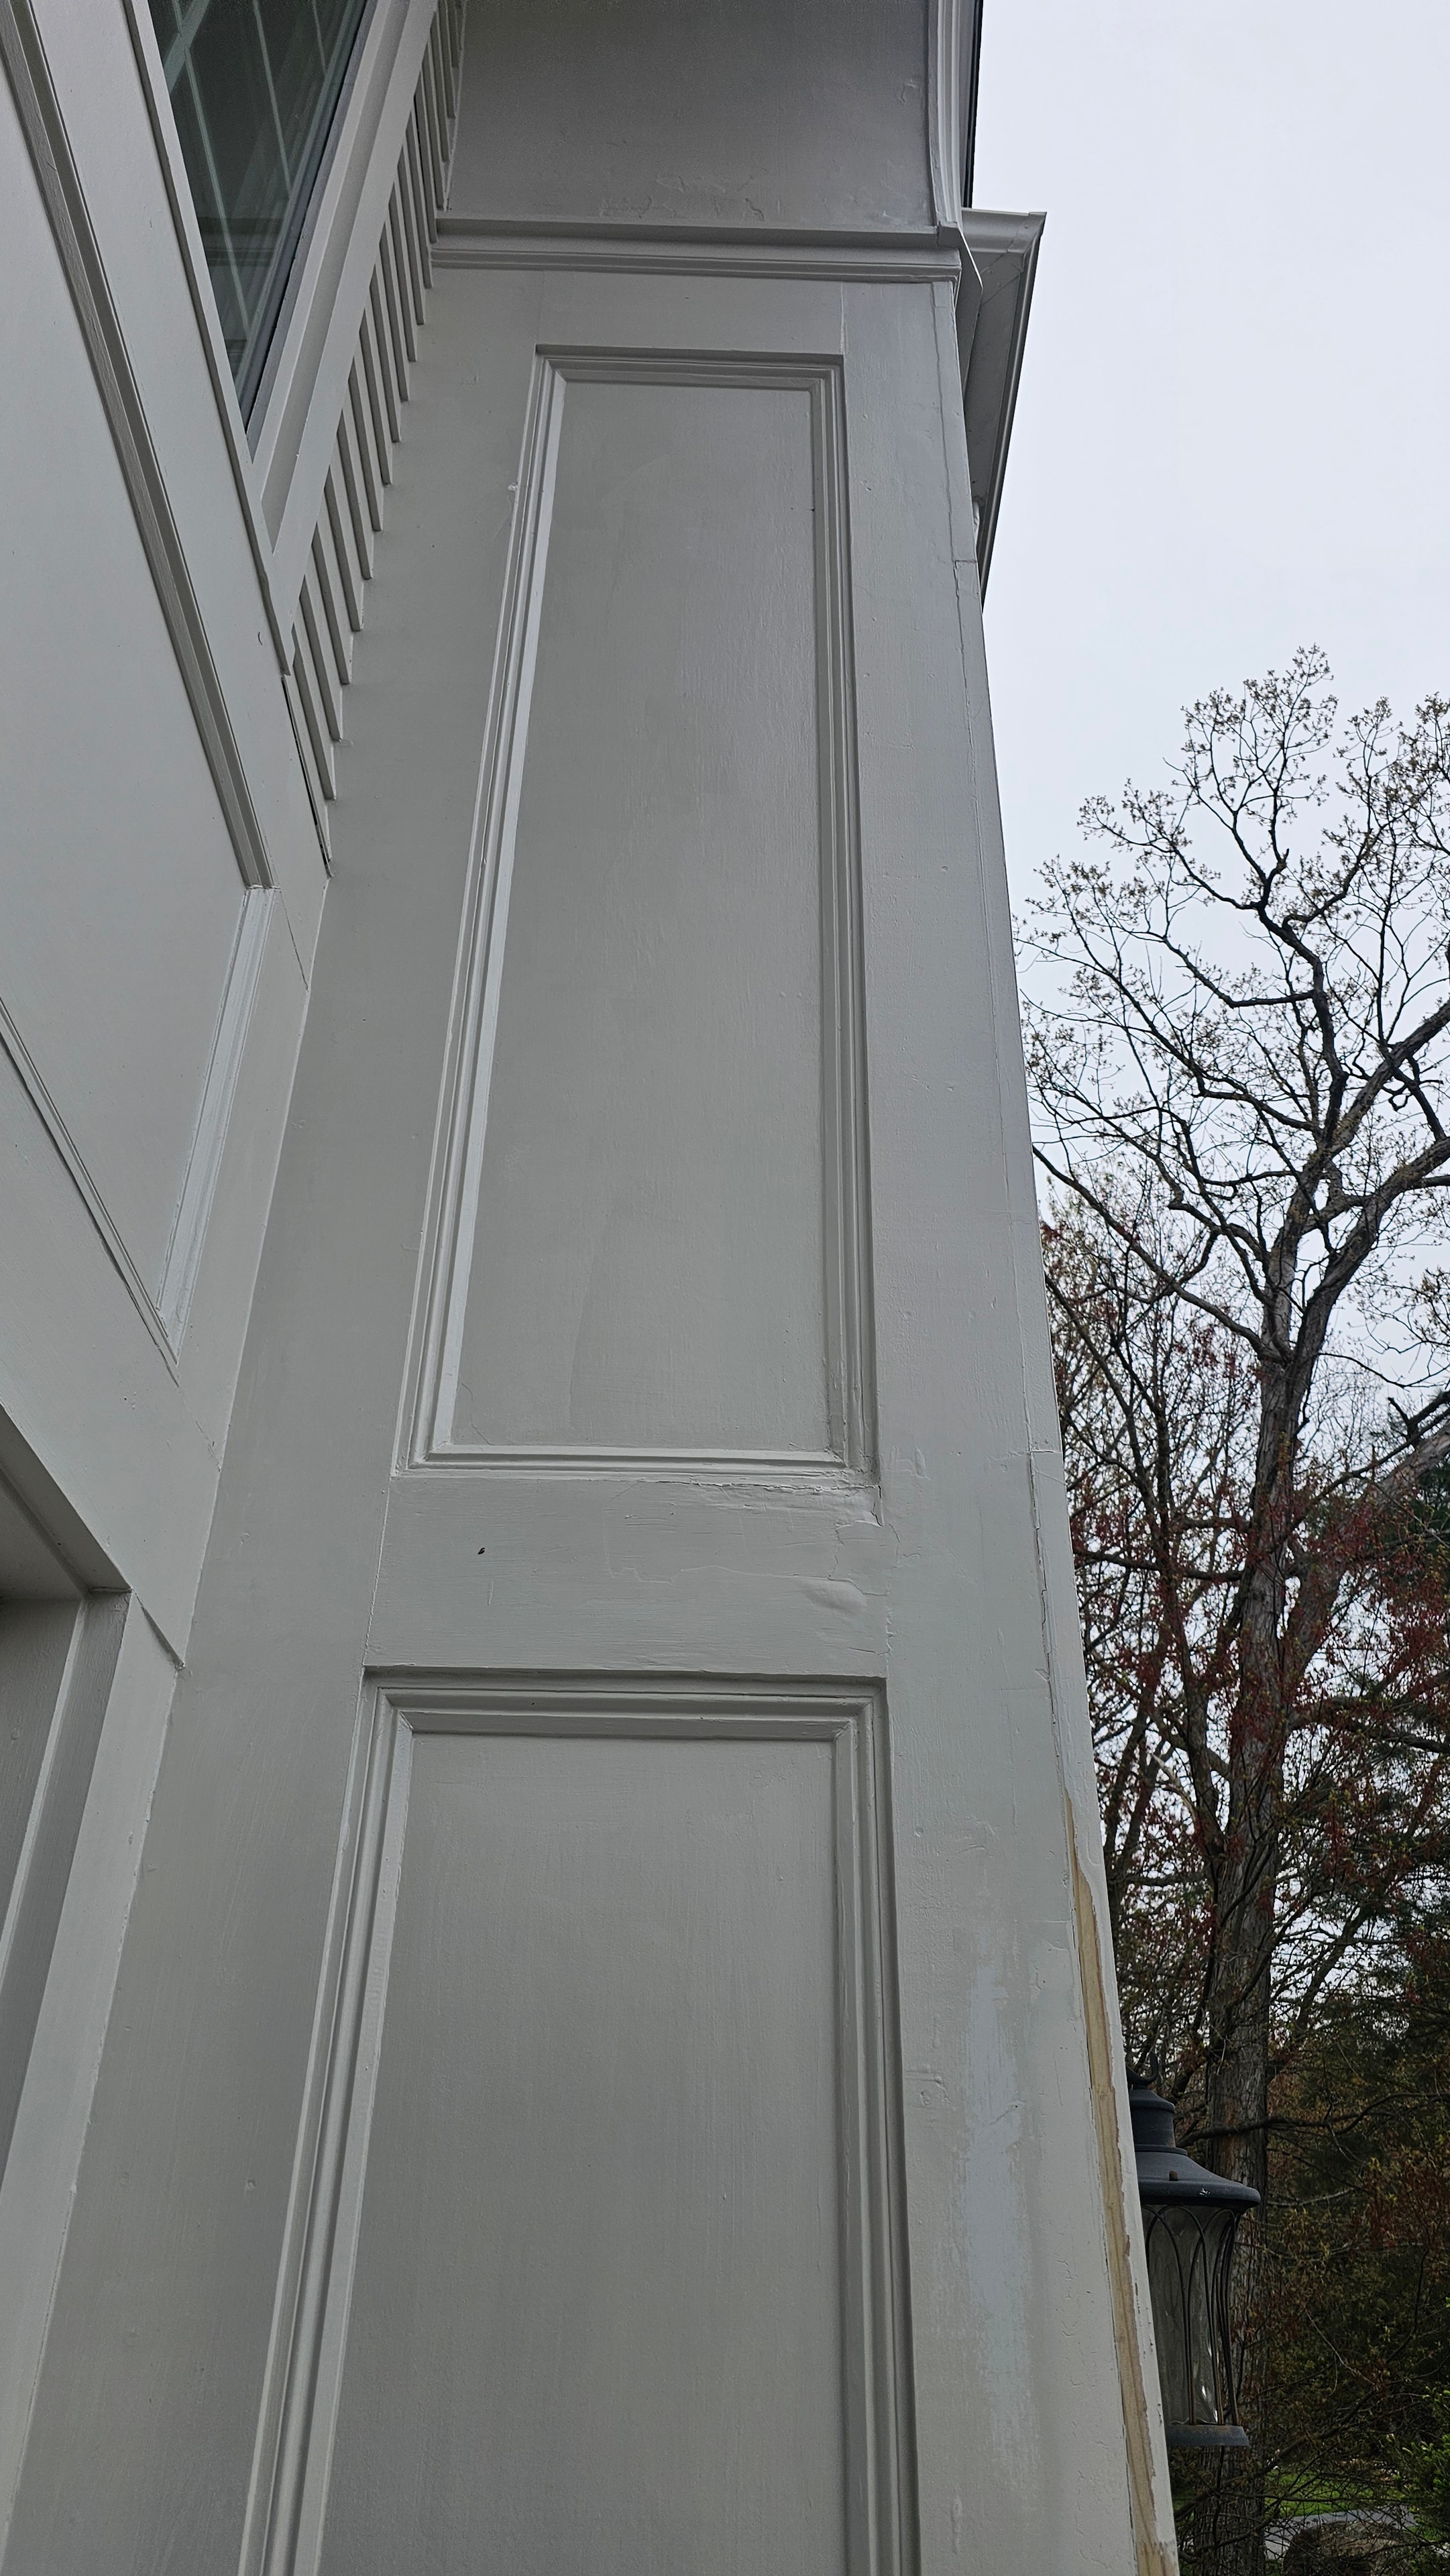
Corner boards, window surrounds, and decorative entry trim give the exterior its definition. Restoring these elements was an important part of the project. Close-up photographs show the condition of the wood and the transitions between repaired areas and surrounding surfaces. The corner-board sequence is especially useful: it follows a damaged lower section through repair and into its painted finish. This is where exterior restoration connects directly with finish carpentry—the attention given to edges, profiles, joints, and the way individual details come together.
Siding Replacement
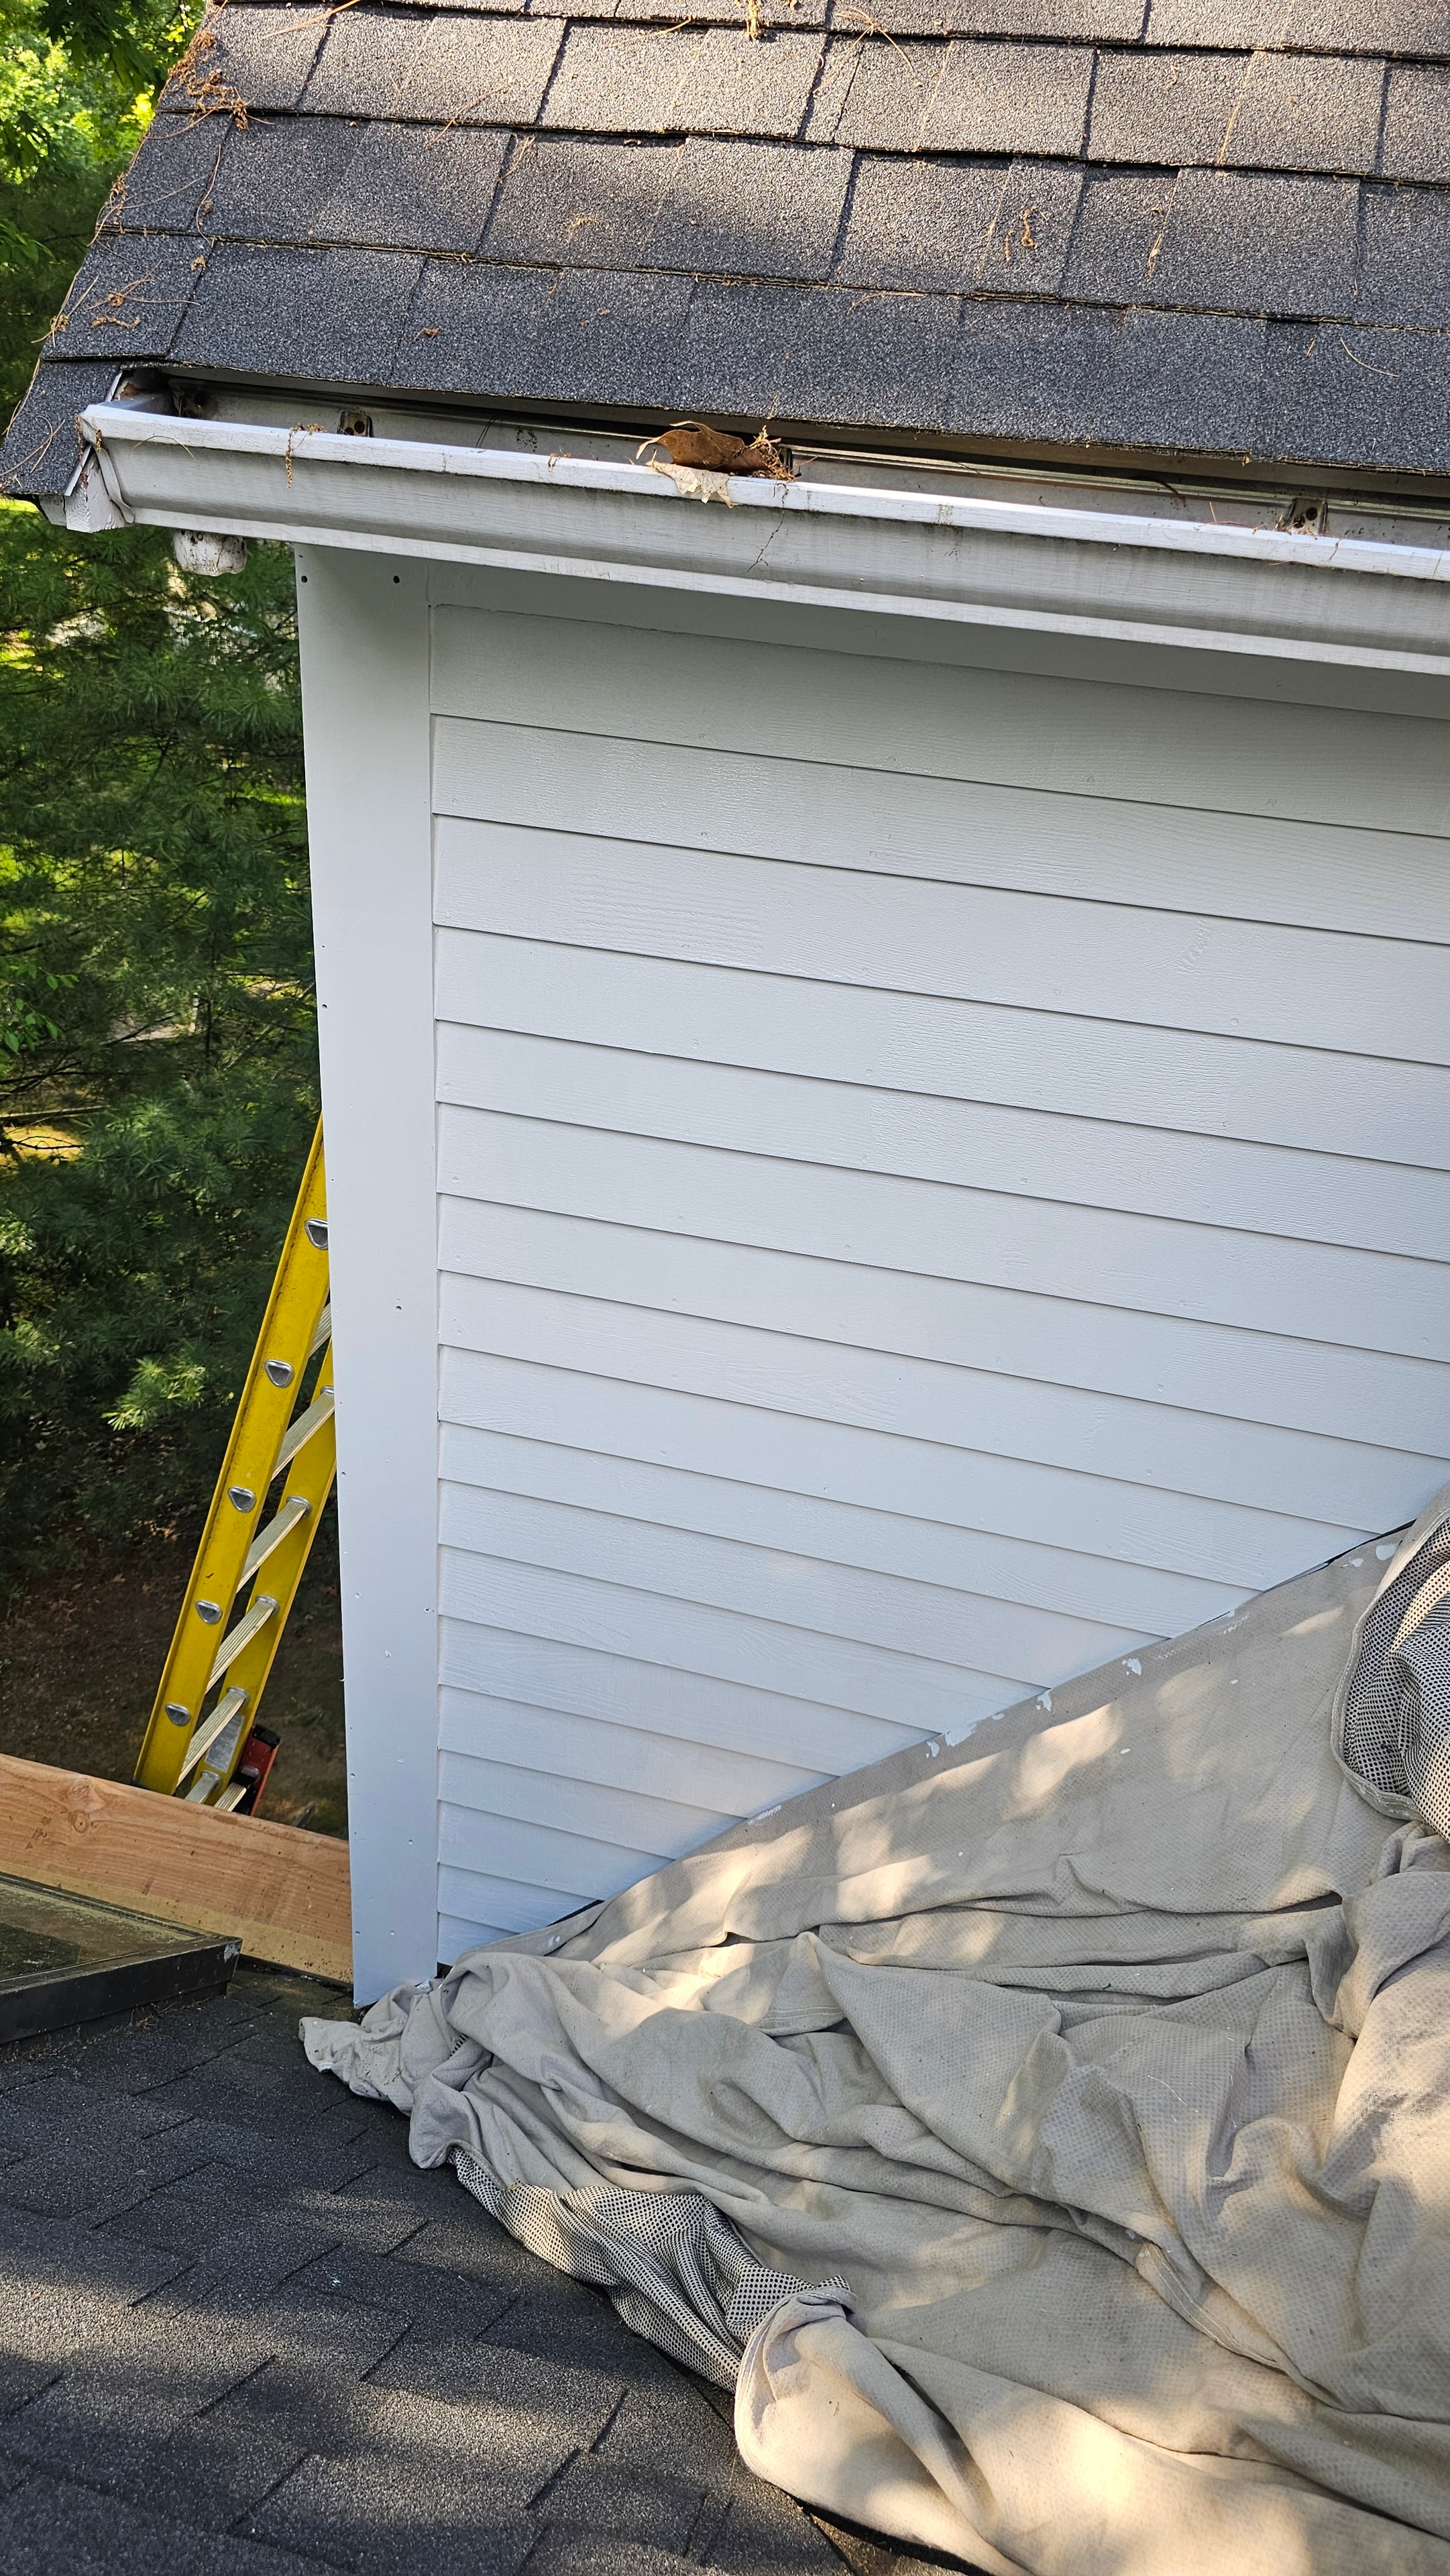
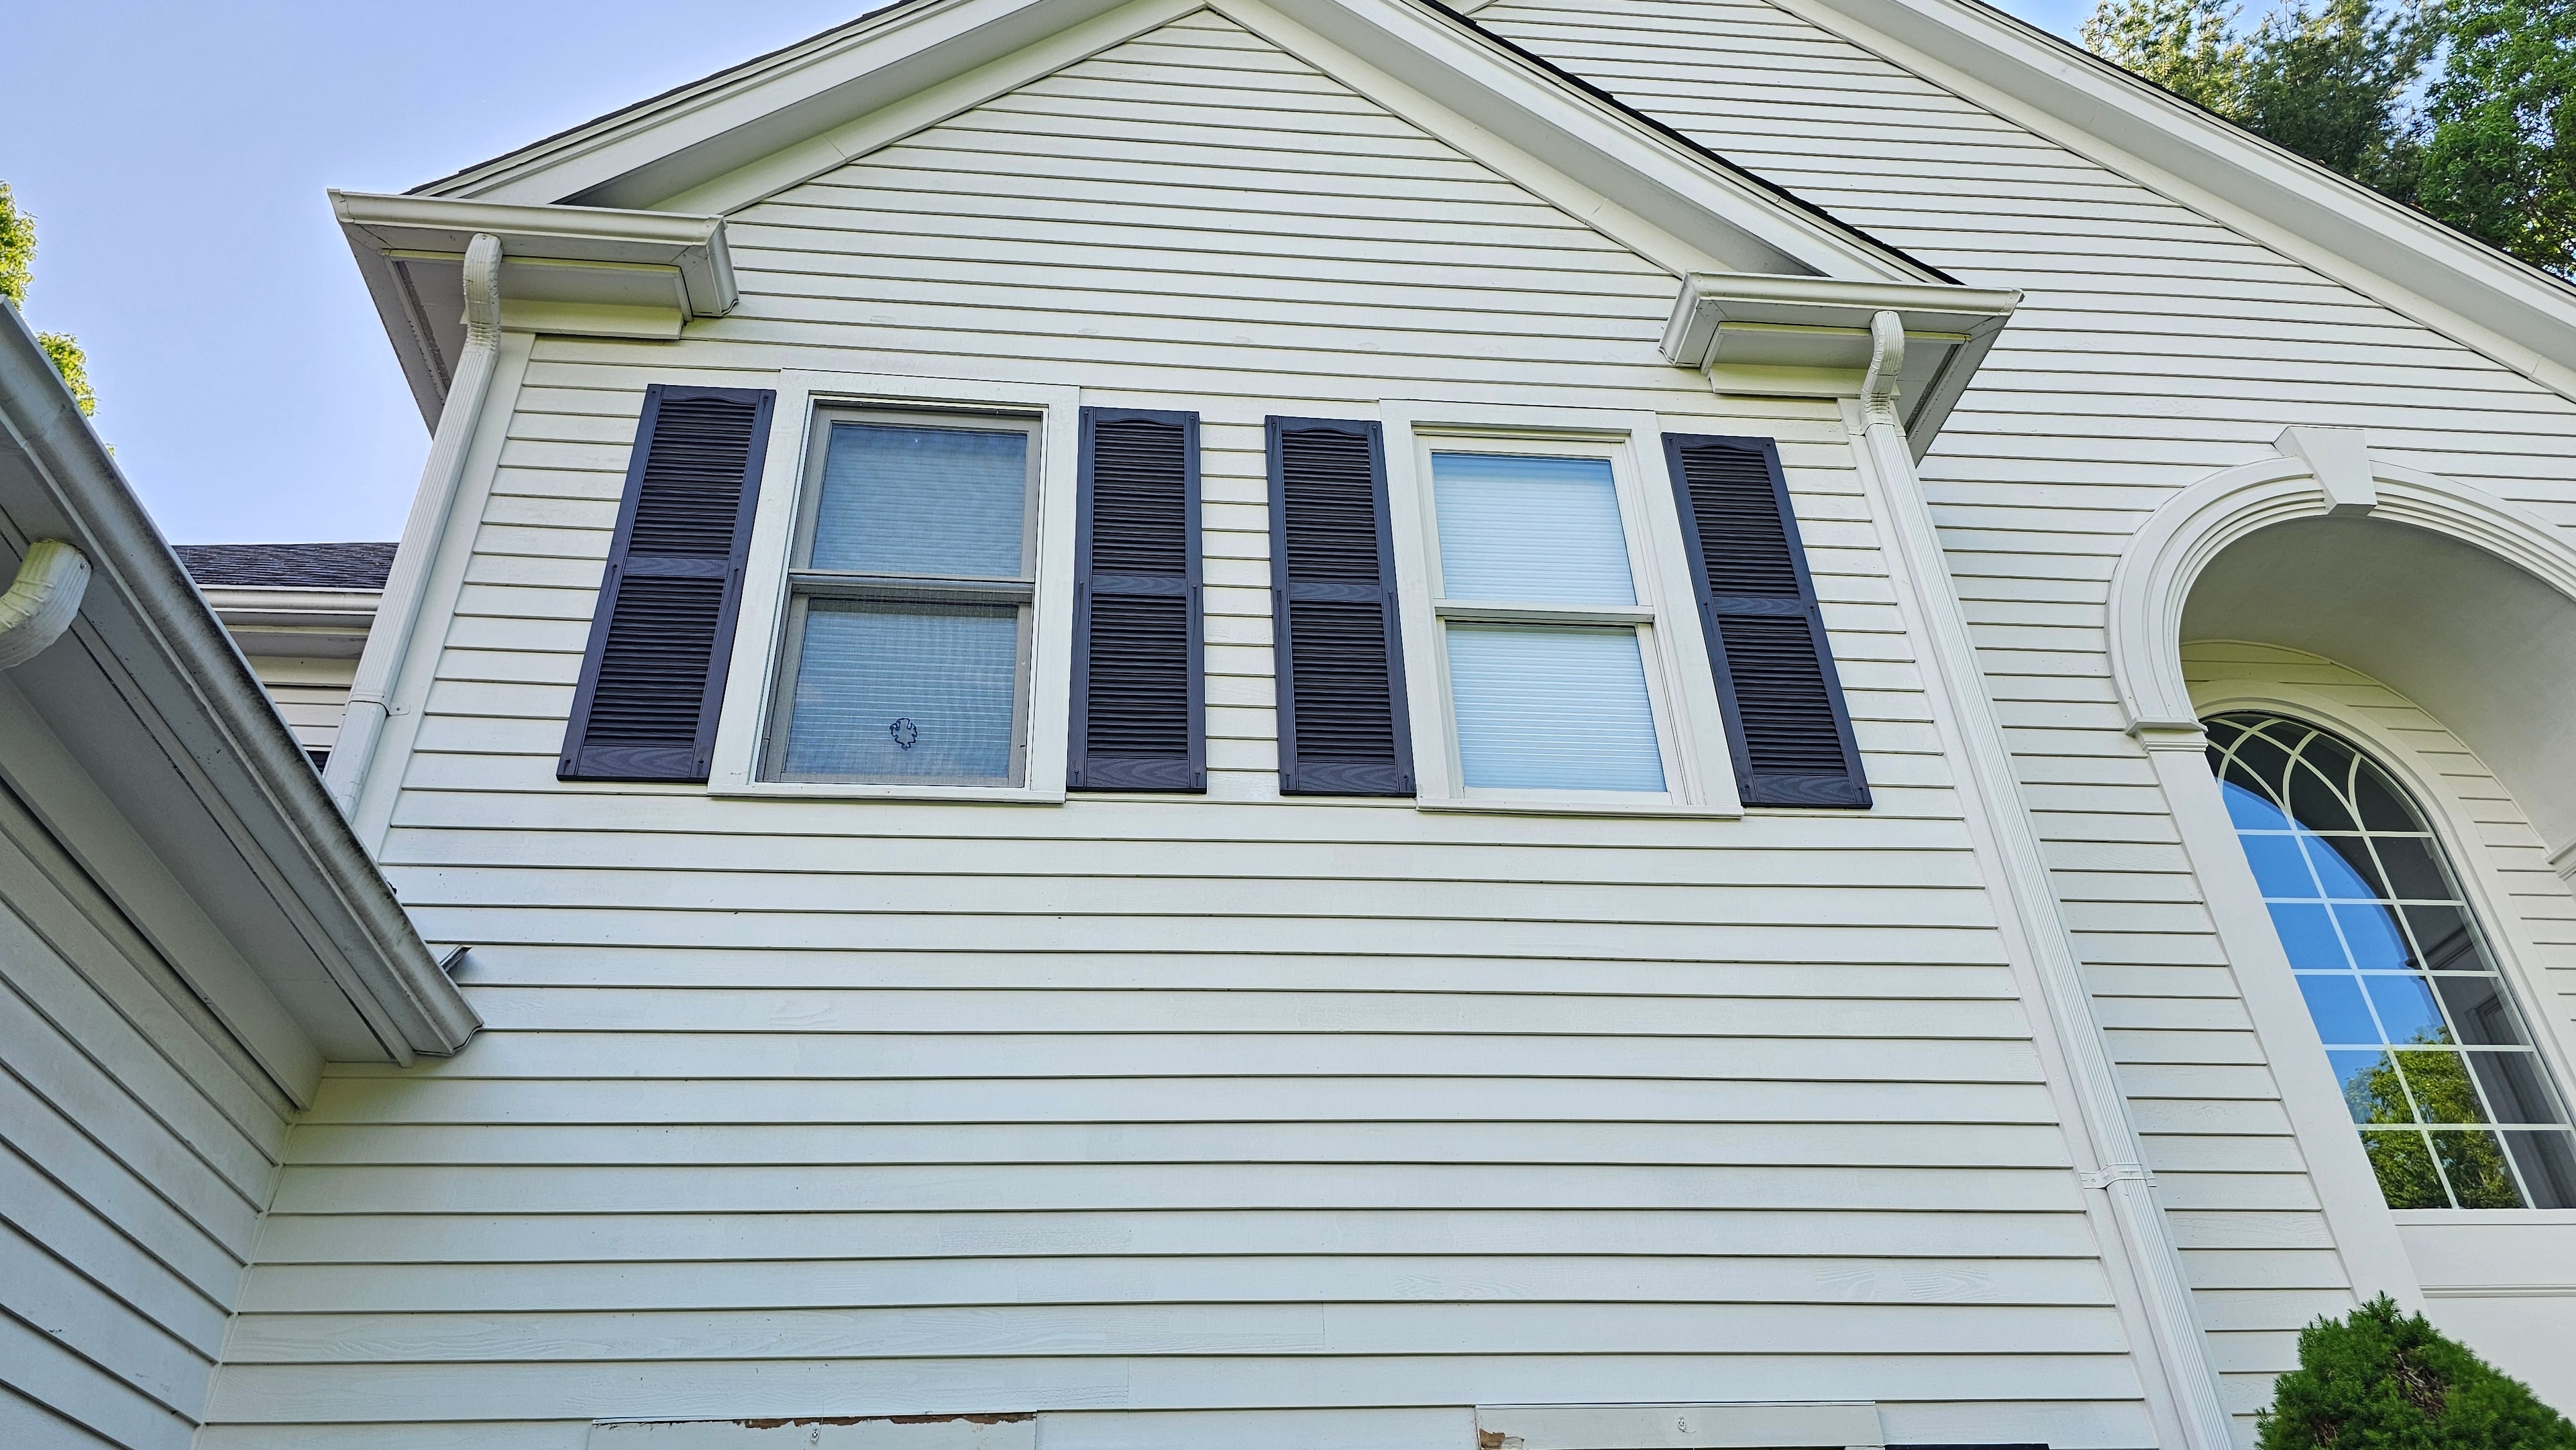
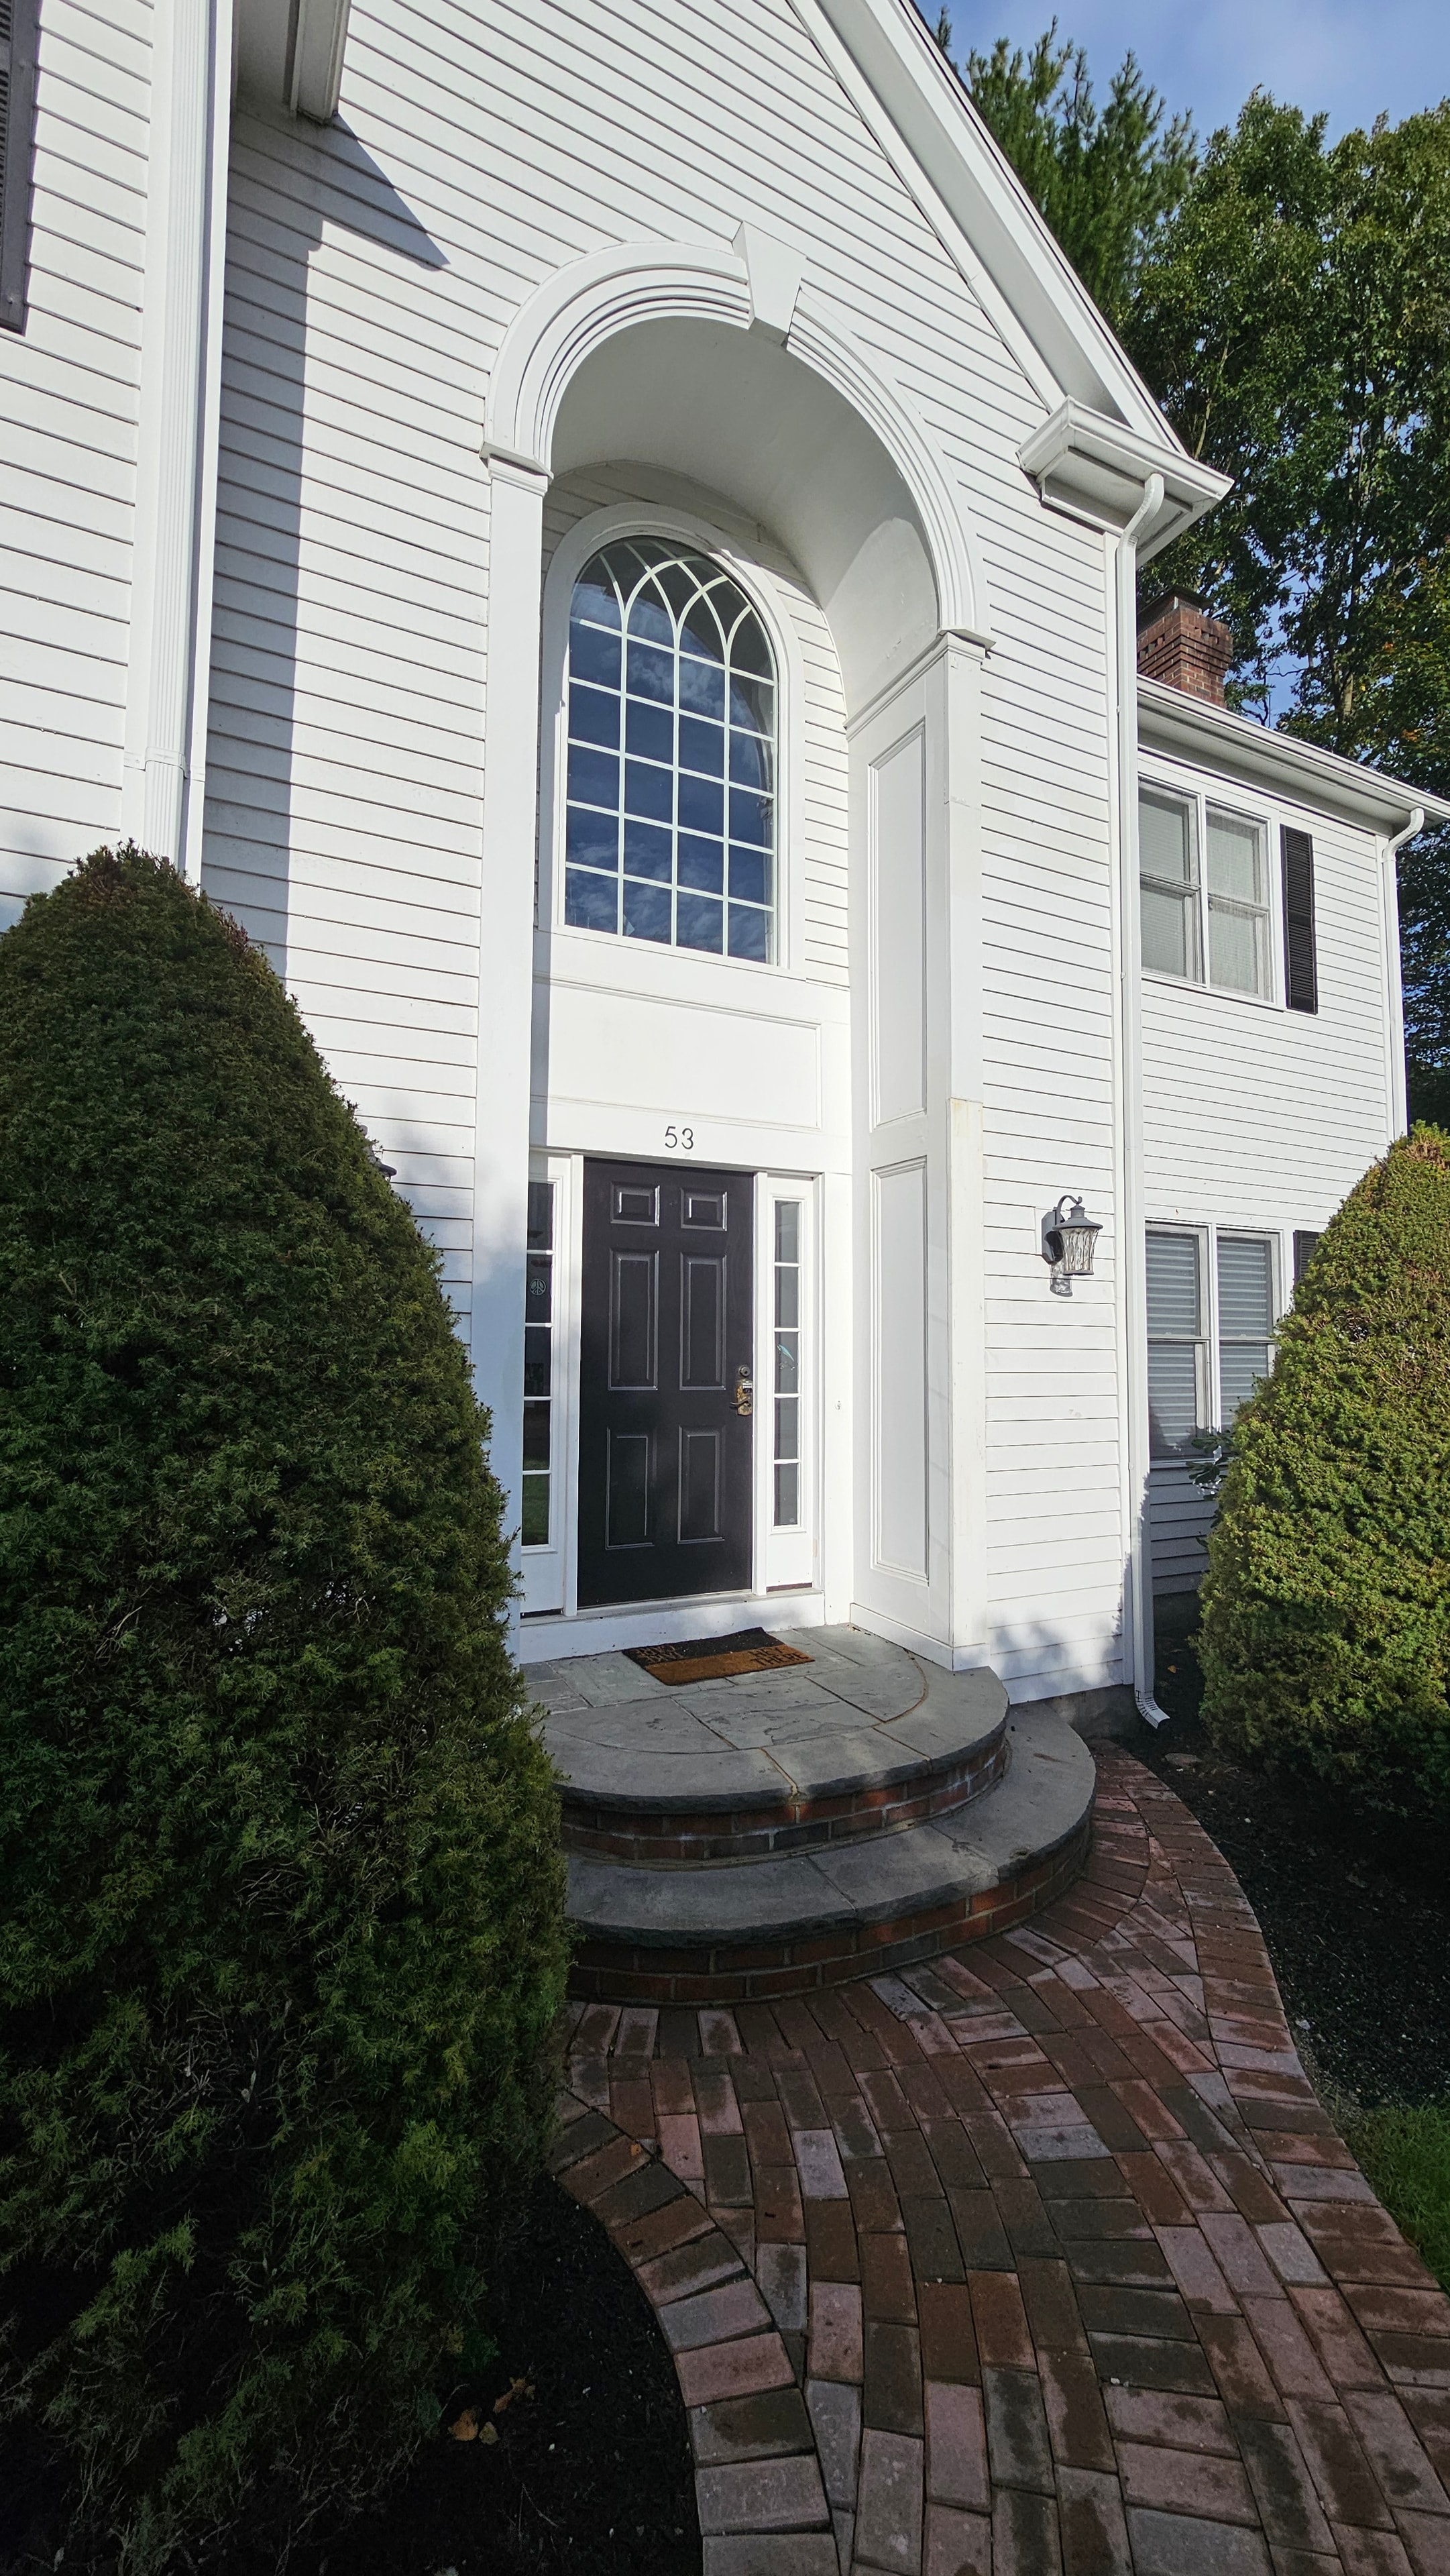
Exterior painting brought the repaired areas together visually. The finished photographs show white siding and trim around the windows, roof intersection, and corner details. Viewed alongside the progress images, they show both the finished appearance and the underlying work. Because the restoration took place over multiple years, the photographs represent different phases and areas of the property. Each sequence documents its own part of the larger project.
Completed Exterior
Exterior painting brought the repaired areas together visually. The finished photographs show the completed siding and trim across both the rear and front elevations, viewed alongside the progress images that document the work involved.
Project Overview
- Location
- Natick, Massachusetts
- Project
- Exterior restoration and painting
- Timeframe
- Multiple years
- Work featured
- Wood replacement, localized epoxy repairs, siding and trim restoration, window-detail repairs, and painting
Repair Sequence
- 1Original Condition
- 2Opening the Exterior
- 3Wrap and Flashing
- 4Epoxy Repairs
- 5Siding Replacement
- 6Completed Exterior
Planning Exterior Painting or Trim Repairs?
If your exterior painting project also involves deteriorated trim or damaged wood, Absolute Design Build can discuss the painting and carpentry work together. Tell us about the areas you want to address and share photographs of the existing condition.
Request an Exterior Painting & Carpentry Estimate